[Updated December 20, 2025: Since the inaugural lasagna of 2020, I find myself making this lasagna most Thanksgivings. Naturally, each year, I forget exactly how I made it the preceding year. I added more details and clarification this year to help with next year. I am also sketching out recipes for others who want to recreate this dish.]
Once again, it is Thanksgiving, my favorite holiday. While this infamous year of 2020 has been terrible for many reasons and thankless in many regards, we should all be able to find something in our lives to be thankful for. Despite all the negatives this year, Ann and I are grateful that we and our kids are well, that the girls have not contracted COVID despite working in healthcare, that Carter has chosen a direction for his life by enlisting in the Army (and is currently at boot), and that we are able to make ends meet, even if times are lean.
Our 2020 Thanksgiving celebration will be truly odd, one spent without friends and family. None of our friends want to risk exposure by coming for dinner any more than we want to by going to their homes. Ditto for family, but our family is all back East and getting together wouldn't have been possible anyway. Still, Thanksgiving is a time to gather and celebrate and we will miss that this year. Damn this virus!
Back in September, Ann and I got to kicking around Thanksgiving and what to do, knowing that hosting friends and family was a long shot. I had, some years ago, proposed doing an off-the-wall Thanksgiving meal: a paella, all the traditional turkey and flavors rolled into one totally non-standard pan of rice cooked over a fire in the back yard. That didn't fly at the time and we shelved the idea for the future, maybe next year. In a similar spirit this highly non-traditional year, Ann asked, "Why not make a lasagna?"
 |
Thanksgiving Lasagna: Delicious!
|
Why not? Ann and I have cooked decades of traditional Thanksgiving dinners, so really, why not something totally off the wall?
For me, a lasagna will be almost new territory, my experience with lasagna being scant. It's not a dish that I ever eat and the first and only lasagna that I ever made was in 1985! You cannot count those times at the restaurant when we would cook a two-foot long sheet of pasta and weave it back and forth in a bowl, putting a filling between each fold, and rushing it to the dining room. Giant pain in the rear to plate? Check. Cool dish and fun presentation? Check. Lasagna? Definitely not.
After a couple days of imagining what a Thanksgiving-style lasagna could be, I proposed to Ann to do two layers of turkey in gravy, and between those a layer of sage pork sausage in béchamel and a layer of "turkey stuffing" ricotta, ricotta flavored with all the aromatics that go into traditional Thanksgiving stuffing. Ann said, "It needs mushrooms." And so I will add some dried porcini to really amp up the pork sausage béchamel (you know that's a fancy term for what we call sausage gravy and put on our biscuits down South!). Finally, I decided to top the whole shebang with cornbread breadcrumbs to give it a great top crust.
Despite its appearance, this dish is not a simple one. It entails significant prep work spread over days: roasting turkey with pancetta butter under the skin, making cornbread and cornbread breadcrumbs, making turkey stock, making turkey gravy, prepping and sweating the mirepoix for the ricotta, making the sausage, and then the sausage béchamel. This is all before par-cooking any lasagne and building and baking the lasagna, the fun part in which Ann and I will make a little mess in the kitchen.
Fortunately, almost all of the work can be done in the days leading up to Thanksgiving, leaving just the easy and fun part for the day of. The best thing about spreading the prep out over several days is spreading the resulting dishes out over several days too. There is nothing quite like making a complicated meal requiring hours of work only to be confronted by mountains of dishes afterward.
The results were fantastic. Sometimes dishes that take a lot of effort to prepare are not worth the effort. This was not one of those times. A highlight for the both of us were the super crunchy cornbread breadcrumbs on top.
The following post outlines how I make the dish over five days. You could certainly do it in fewer; four is easy and three is not bad. Two days is pushing your luck and stamina. The following recipes are scaled to fit a standard restaurant half hotel pan with rough interior dimensions of 11.5"L x 9.25"W x 2.5"D. This will yield up to 12 portions of lasagne, though I often cut it into eight.
You will need the following equipment for this lasagna:
half-hotel pan or other similar sized baking pan
food processor (for pancetta butter)
sausage grinder (for sausage)
stock pot (for stock)
roasting pan (for turkey thighs)
Shopping Day (was Monday November 16, 2020)
Because of COVID, I have no desire to be out at the grocery store shopping along with the crowds the week of Thanksgiving, so I am doing all my shopping the week before. Everything will keep or can go in the freezer. The turkey parts that I want, necks for the gravy and stock and thighs for the turkey layers, are frozen when I buy them at the store, so they go right back into the freezer once home.
My timing at the grocery store proves to be impeccable. After searching for turkey thighs without luck but having been told that they would be for sale, I approach a man stocking a meat case and ask him about them. As he finishes slicing open the box in front of him, he reaches inside and pulls out a package of frozen turkey thighs for me. I am almost too early to get them. I am so glad that I do not have to make another trip to the store with COVID spiking again.
Shopping List
Produce
Orange, seedless, 1 (for relish)
Cranberries, 12 ounces (for relish)
Onions yellow, 2 large (1 for stock, 1 for ricotta)
Leek, 1 large (leaves for stock, remainder for ricotta mix)
Celery, 1 head (for stock, for ricotta mix)
Garlic, 1 head (for sausage)
Italian parsley, 1 bunch (for stock, ricotta mix)
Sage, 1 bunch (for stock, for ricotta mix, for sausage) dried also works well)
Thyme, 2 bunches (for stock, ricotta mix, rillettes, sausage)
Meat
Turkey necks, 4 pounds (for stock and rillettes)
Turkey thighs, 6-7 pounds (for lasagna)
Pancetta, 4 ounces (for pancetta butter)
Bacon, 1/2 pound (for rillettes)
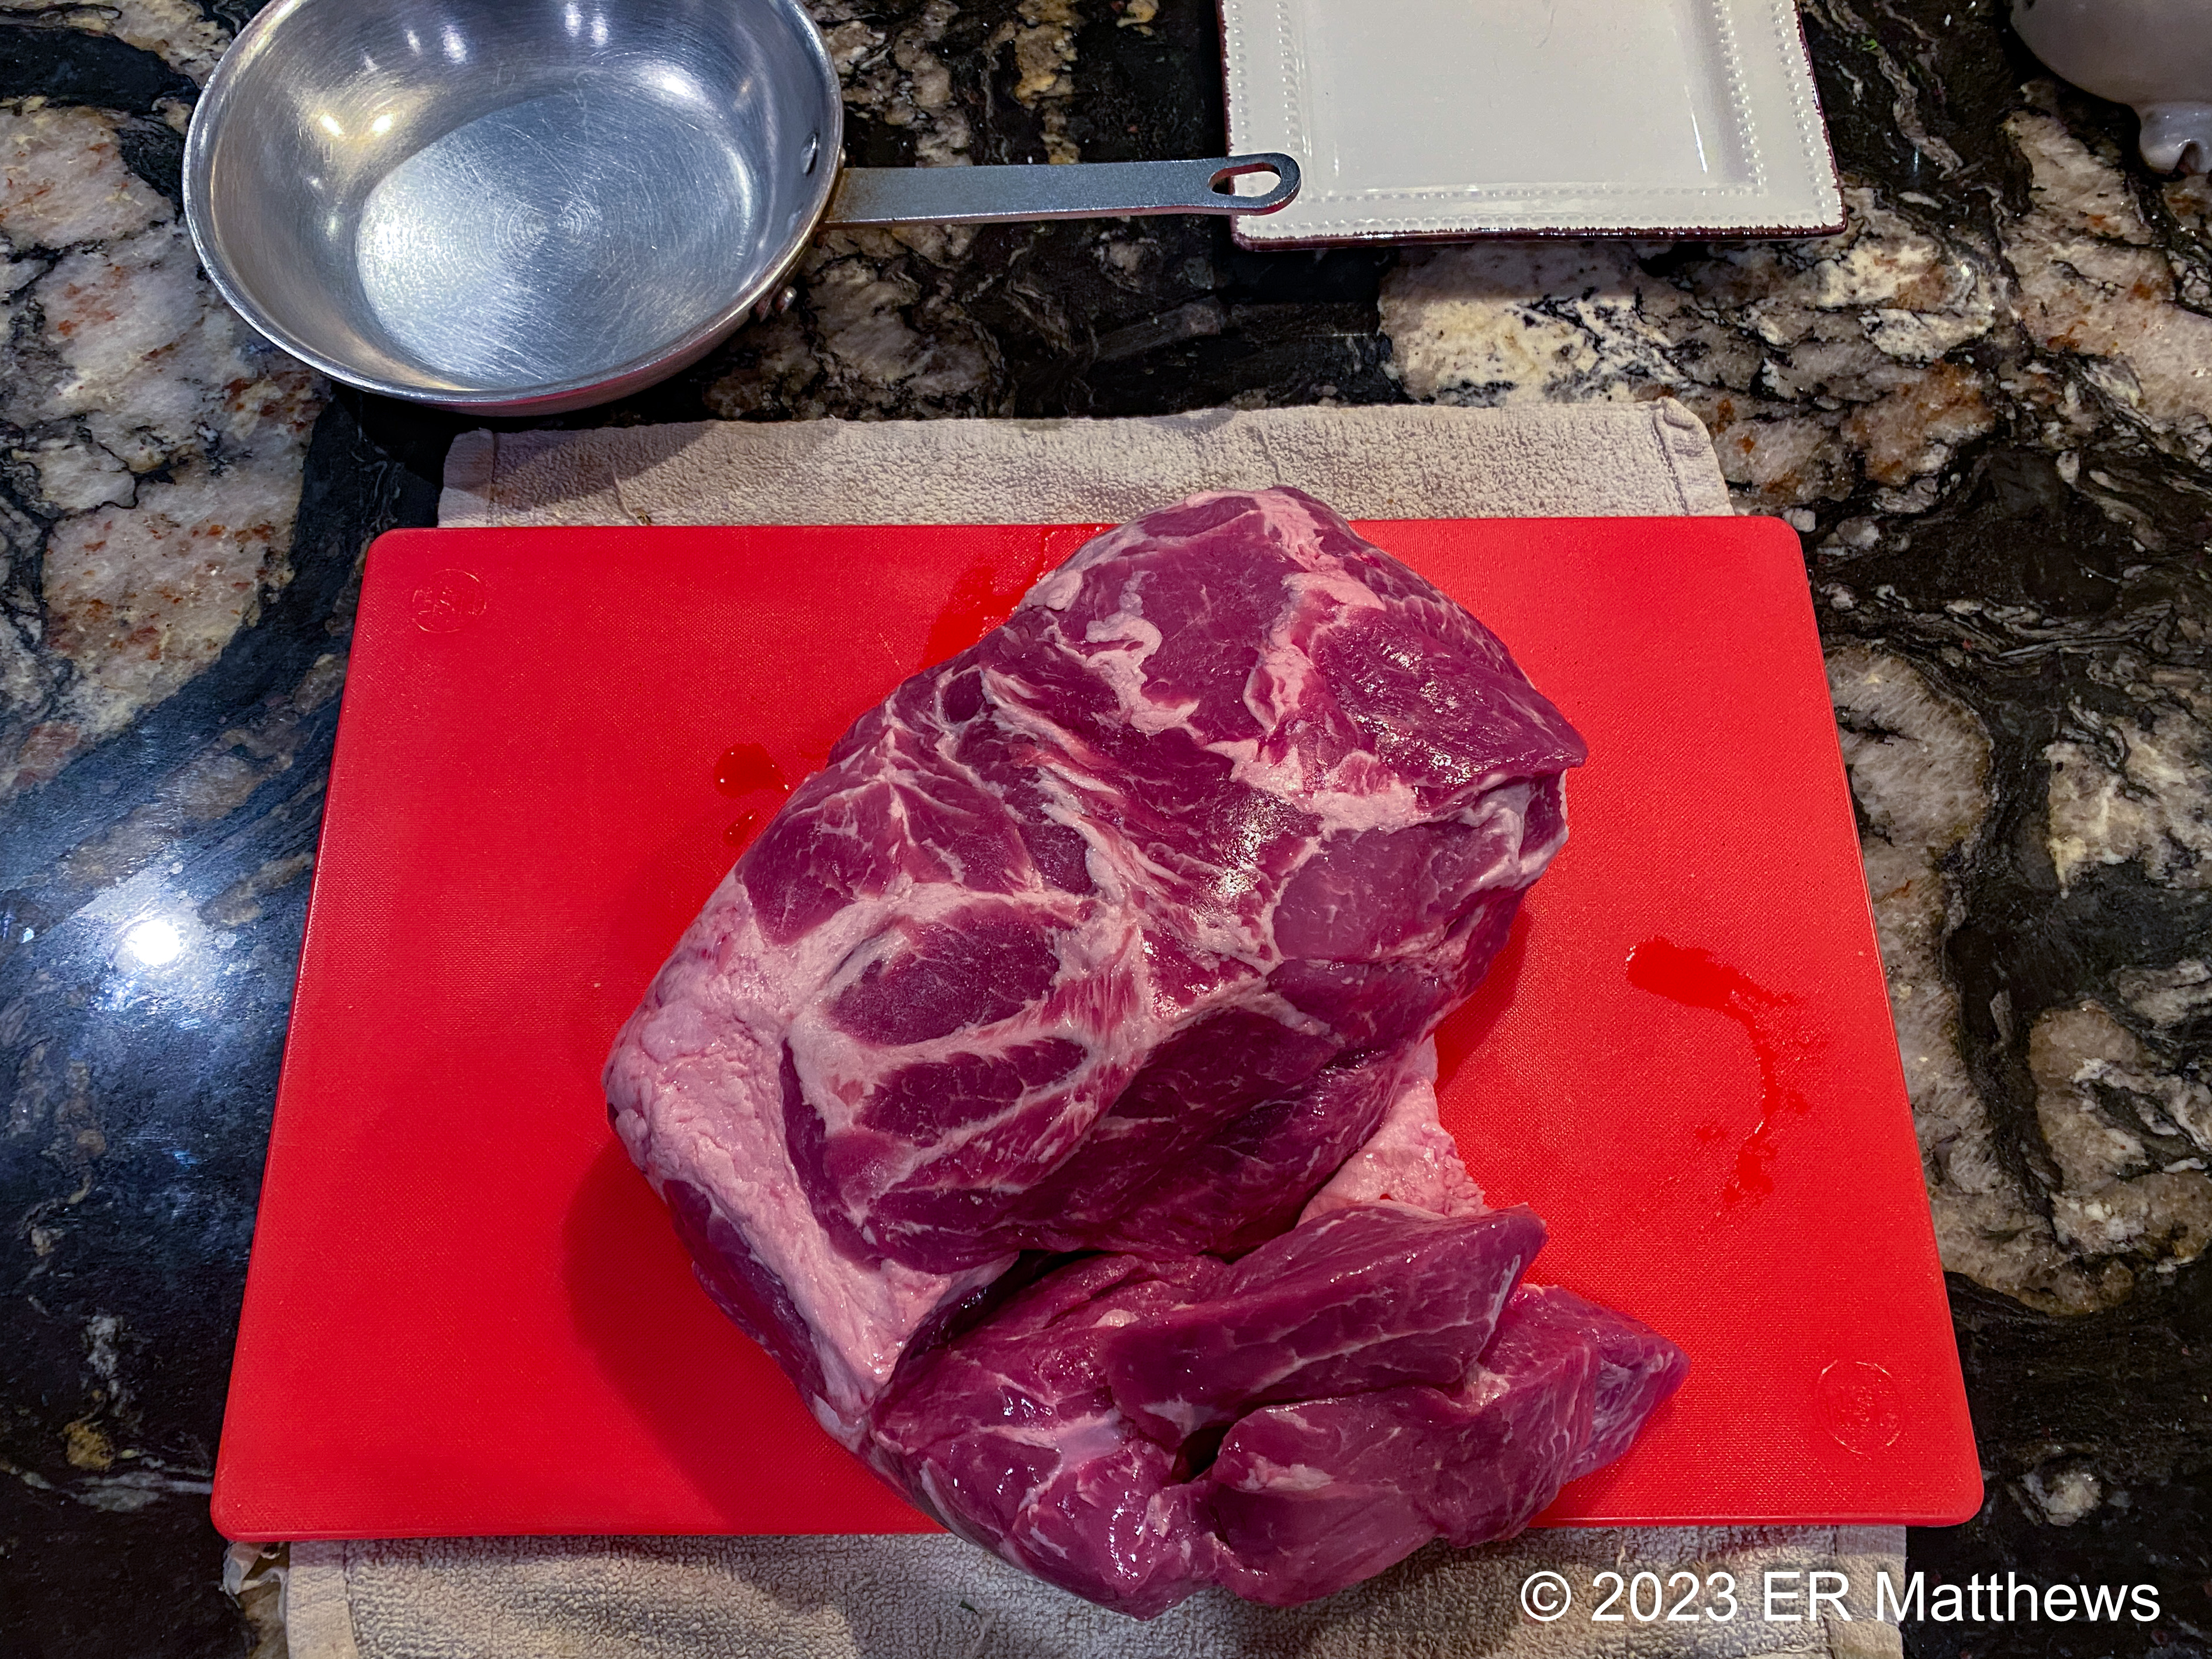
Fatty pork shoulder, 1 pound (for sausage)
Spices
Nutmeg, whole, 1 (for rillettes)
Sage, dried, to taste (if needed, for sausage, ricotta mix)
Salt, to taste
Black pepper, to taste
Crushed red pepper flakes, to taste
Dairy
Ricotta cheese, 1 pint
Butter, 4 ounces
Pecorino romano, 4 ounces
Milk, 1 quart (for cornbread, béchamel)
Eggs, 4 large (for cornbread, for ricotta mix)
Mozzarella, grated, 2-3 cups (for lasagna)
Pantry
Sugar, granulated, 1/2 cup
Porcini mushrooms, dried, 1 ounce
Cornmeal, 2 cups
Flour, all purpose, 3 cups (for cornbread, béchamel, gravy)
Lasagne, 22 each (2 boxes)
White wine, 1/2 cup (for sausage)
Vegetable oil or pan spray
Sunday (was Sunday November 22, 2020)
Thanksgiving prep begins today, five days out from the big event. I take the turkey thighs out of the freezer to thaw over the next couple of days. Today's job is making the stock from which I will ultimately make the gravy. First thing this morning, four pounds of turkey necks that I thawed over the last couple of days go into the oven at 350F to roast. After an hour or 90 minutes, I flip them over and roast them another 45 minutes to an hour. Timing is not critical as long as they brown well on all sides.
 |
Turkey Necks Ready for the Oven
|
Turkey necks are one of my favorite parts of the bird and are a source of fine and flavorful dark meat. I always make my stock from them. Besides being great for stock, necks are also delicious eating on their own. One of my favorite ways to prepare them is to brine them and then smoke them low and slow until they are deliciously golden and falling apart, a sinful treat.
 |
Turkey Stock Mise en Place
|
Great gravy requires great stock and great stock requires patience. After the necks roast for the better part of the morning, the stock takes the entire afternoon, coming down from a gallon to about a quart and a half, all told.
To make the stock, the roasted necks go into a stock pot with all their pan drippings; the tough outer leaves of a leek; a medium onion, chopped with peel on; a heart of celery, chopped; two of my last remaining sprigs of lovage; a bunch of English thyme; and a sprig of sage. This gets covered in water and left to simmer all afternoon. The house smells like Thanksgiving which is so appropriate because it is gray and 37 degrees and raw and miserable outside. The kitchen should be and is a haven, a pleasant respite from outside.
 |
Turkey Stock and Neck Meat
|
After cooking at the barest simmer all afternoon, the stock is ready. Ann helps strain the stock and I put it into containers for the refrigerator. Once the necks cool enough to handle, I start picking the meat, a favorite task of mine because it reminds me of picking necks with my mother. It is extremely difficult to pick all the meat from the neck bones with your fingers, leaving delicious morsels to eat for anyone willing to suck on the bones. I helped my mom picked neck bones just for this reason, so that I could snack on the remaining meat. I give Ann a few necks bones to try; they are delicious.
Turkey Neck Stock
This recipe will yield a quart and a half of stock, enough to moisten the turkey neck rillettes and to make the turkey gravy. In the days leading up to Thanksgiving, I often collect miscellaneous scraps in a bag in the freezer to augment the stock. This might include chicken bones/skin, thyme stems, parsley stems, onion peels, leek leaves, and so forth. The list below is the bare minimum for making stock.
1 cup water, chicken stock, or vegetable stock for deglazing
1 medium onion, cut in 1/8ths with peel on
1 heart of celery or three outer stalks, roughly chopped
1 small bunch of fresh thyme
1 bundle of parsley stems
Water to cover, several quarts
Roast four pounds of turkey necks, rubbed with oil, in a moderate oven, say 350F. Flip them when they are well browned, after about an hour. Continue to roast, about another 45 minutes, until well browned all around.
Remove the turkey necks to a stock pot. Deglaze the roasting pan with the cup of water or stock, scraping well to incorporate all the brown bits from the bottom of the roasting pan.
To the necks in the stock pot, add the pan drippings and all the aromatics. Cover with water and simmer for 3-4 hours.
Strain the stock and refrigerate to solidify any fat on top of it. The fat will be the base for the gravy later on.
While the turkey necks are still warm from the stock pot, pick meat and reserve for rillettes.
Turkey Neck Rillettes
Rillettes are a happy by-product of having about a quart of turkey neck meat from the stock. Naturally, the neck meat would make a great soup, but it is the holidays and I like to celebrate with rillettes. Rillettes are hard to describe, but let me offer the phrase "meat butter."
 |
Turkey Rillettes with Cranberry Relish
|
Rillettes are finely shredded meat moistened with stock, butter and/or fat (lard, bacon grease, duck fat) and seasoned with herbs and spices. Rillettes are most frequently made from fatty cuts such as pork shoulder or duck legs slowly cooked (or confited) in their own fat. Turkey necks are lean, so they take additional fat to become an unctuous meat spread.
I like to make rillettes a few days in advance of serving them; they improve in flavor in the refrigerator. They need to come to room temperature so that they are spreadable. We serve them on crackers or crostini, topped with a dab of cranberry relish.
1/2 pound bacon, rendered
1/4 pound butter, at room temperature
turkey stock, up to 1 cup
Fresh thyme leaves, to taste
Nutmeg, freshly grated, to taste
Unlike pork shoulder, turkey neck meat can be a bit stringy and tough, so mince it finely with a knife to make it easy to eat.
Render the bacon and use it for something delicious; this dish only needs the bacon grease. Let the grease cool. By all means, if you have duck fat, use that.
Bring the butter to room temperature so that it is spreadable and mixable.
Mix the turkey and the two fats. Add enough stock to make a spreadable paste. Season to taste with fresh thyme, salt, and nutmeg. You can use any spices and herbs you like and some people add a shot of Cognac or Armagnac to their rillettes.
The rillettes will probably take more seasoning than you expect. Fat dulls the taste buds and so rillettes will benefit from being slightly over-seasoned and served with a wine with good acidity.
Monday (was Monday November 23, 2020)
Today I just have a couple of things that I want to get done: making the cornbread for the cornbread breadcrumb topping for the lasagna and making the pancetta butter to use in roasting the turkey thighs.
 |
Cornbread Hot out of the Oven
|
Cornbread is a thing of beauty and I have some locally milled corn that will make delicious cornbread. This cornbread is destined to be crumbled and dried out in the oven for a topping, so I am not worried about making hipster, fluffy, tender, melt-in-your-mouth cornbread by adding a lot of leavening and fat. In fact, I am making old school pioneer-grade cornbread: equal parts flour and cornmeal, a bit of baking powder, a bit of salt, an egg, and enough milk to make it into a batter. I measure nothing: this is how I always make cornbread, by feel. The result is outstanding and Ann and I cannot resist nibbling.
Old-School Cornbread
This recipe yields a 9x9 pan of cornbread, about three times too much for this lasagne. This is a good thing; it leaves two healthy portions to eat when it comes out of the oven, say with a good pot of beans.
1-3/4 cups all purpose flour
2 teaspoons baking powder
enough milk to make a batter, start with 1 cup and add more as necessary
Grease a 9x9 pan, pour in the batter, bake in a preheated hot oven (450F) until golden brown on top, 25-35 minutes.
After cooling, reserve a third to a half for crumbs to cover the lasagna.
Pancetta Butter
 |
Pancetta Butter
|
It is tradition now at our house, our 12th Thanksgiving together, to stuff pancetta butter between the skin of the turkey and the breast meat before roasting it to yield a moist, tender, and flavorful result. Being empty nesters, we no longer cook an entire bird to feed a crowd of friends and family. We switched to thighs a few years back because they are so much better than breasts which are prone to dry out and be flavorless. Even so, our tradition remains that we put pancetta butter under the skin of the thighs. All the resulting pancetta-flavored fat in the roasting pan becomes the base for the amazing béchamel layer.
4 ounces pancetta, cold, finely diced
4 ounces butter at room temperature
Pancetta and most fatty meats work best when cold. I suggest that you finely dice cold pancetta, then put the dice back in the refrigerator to chill before processing. Process the pancetta in a food processor until it cannot get it any finer.
Add the butter and process until smooth.
Put the pancetta butter on a sheet of film wrap, roll it into a log, and put it in the refrigerator for use in roasting the turkey. You do not have to roll it into a log, but it makes it easy to slice off a coin that will slide easily under the turkey skin.
Tuesday (Was Tuesday November 24, 2020)
I have a few things to do today: roast the turkey thighs, make cranberry relish, and toast cornbread breadcrumbs. None of these things take a lot of time and in between, I have plenty of projects around the house to keep me busy.
Roast the Turkey Thighs
My four turkey thighs weigh 6.6 pounds, exactly 3 kilos, will take 3 hours to roast at 350F, and will yield a 2-liter container stuffed full of pulled turkey. I put an ounce of pancetta butter under the skin of each, give them a sprinkle of salt and pepper, and put them in the oven. There should be a couple ounces of pancetta butter left over; you will use that in making the sausage béchamel.
Despite not setting a timer, there is no possibility that we could forget them and overcook them: after 45 minutes, the smell of roasting turkey is driving us insane! The timing will be shorter if you use say 6 smaller turkey thighs rather than 4 larger. Your nose and eyes will tell you when they are done.
6-7 pounds turkey thighs
6 ounces pancetta butter
vegetable oil
salt
1 cup of water or stock, for deglazing the roasting pan
Cut off a quarter of the pancetta butter (2 ounces) and reserve it for the béchamel step. Divide the remaining pancetta butter into equally sized pieces, one for each thigh.
Loosen the thigh skin with your fingers. Slide a piece of pancetta butter under the skin and massage it over the meat as well as you can.
Rub the thighs with a little vegetable oil and season with salt.
Place in a 350F oven until the skin is brown and crispy, 2 to 3 hours. It is not necessary to baste the thighs (I do not), but it may help the skin to brown.
Remove the turkey from the pan and let cool enough to pick it. Reserve the meat for lasagna assembly.
Pour the grease from the pan into a small storage container. While the pan is still warm, deglaze it with up to a cup of water or stock, scraping up all the brown bits. The deglazing juices go into the container with the fat and the whole thing goes into the refrigerator. The fat and roasting juices will go into the gravy.
After the turkey cools to the touch, pull it off the bone and put it in the fridge. I save the bones in a bag in the freezer for my next batch of soup or stock.
 |
Turkey Thighs with Pancetta Butter Under the Skin
|
 |
Roasted Turkey Thighs: That Skin!
|
For the four huge thighs you see above, I checked them at two hours and twenty minutes The skin was a little pallid and a knife did not pierce to the center as easily as it should. I went off to do some work in the garage, coming back to remove the thighs after three hours. The smell on coming back into the house was intoxicating. Just look at that skin! I confess that Ann and I did sample a bit. We may be watching what we eat carefully, but this is Thanksgiving and were we to pass on eating some crispy insanely good turkey skin, you would have to revoke our foodie cards!
Cranberry-Orange Relish
 |
Cranberry-Orange Relish
|
My old standby cranberry relish is a single orange, a bag of cranberries, and enough sugar to bring the relish into balance. Since when did cranberries start being packed in 12-ounce bags? They used to be a pound, but I admit that during my restaurant days, we would buy them by the case, probably 10 or 15 pounds of loose cranberries at a pop. It has been a long time since I handled cranberries in retail packaging.
1 seedless orange
12 ounces of fresh cranberries
1/2 cup (or more) granulated sugar, to taste
Quarter the skin-on seedless orange lengthwise. If the orange has a large core or area of pith, cut it out. Slice each quarter crosswise into 3-4 pieces and put them into the food processor it goes, skin and all. Blitz the orange into small pieces as in the photo above.
Add the cranberries and a half a cup of sugar. A few brief pulses is enough to create the sauce in the photo above.
Taste and adjust the sugar to your liking. Ann and I like our sauce rather more tart than sweet, especially when paired with fatty rillettes. This sauce is better after it has worked in the refrigerator for 48 hours, so do not be afraid to make it well in advance.
Cornbread Breadcrumbs
 |
Cornbread Breadcrumbs
|
The cranberry sauce made, crumble the cornbread onto a sheet tray and put it in the oven below the turkey. Turn the crumbs at ten minutes and remove them at 20 minutes. After they cool, put them in a seal-top bag so that they will not go stale.
Wednesday (Was Wednesday November 25, 2020)
With one day left before Thanksgiving, I have a relatively small list of things to get done with most of the work devoted to prepping vegetables and herbs. I knock out two trivial tasks first: rehydrating porcini and grating pecorino romano for the top of the lasagna. The porcini will go in the béchamel. I save the porcini soaking liquid for another use, often added to a pot of beans.
Rehydrate Porcini and Grate Pecorino
Cover an ounce of dried porcini with water, cover, and leave on the counter overnight. Tomorrow, drain and chop them for the béchamel.
Grate four ounces of pecorino romano, sufficient to put a thin layer on top of the lasagna.
 |
Rehydrating Porcini
|
 |
| Grating Pecorino |
Ricotta Mix
Next up is the vegetable prep for the stuffing-flavored ricotta cheese layer. Our stuffing always includes leeks, onions, and celery. For one pint of ricotta, one large onion, one large leek, and two stalks of celery is plenty. For herbs, I go out to the yard and cut parsley, sage, lovage, and thyme. [Oh how I wish I could still go out in the yard and harvest herbs! Not happening here in the high desert.]
 |
Veg for the Stuffing-Flavored Ricotta
|
1 large yellow onion, finely chopped
1 large leek, finely chopped
2 stalks celery, finely chopped
1 bunch of fresh sage, augmented as necessary with rubbed sage (half for sausage)
1 bunch of fresh thyme (half for sausage)
1/2 bunch of Italian parsley
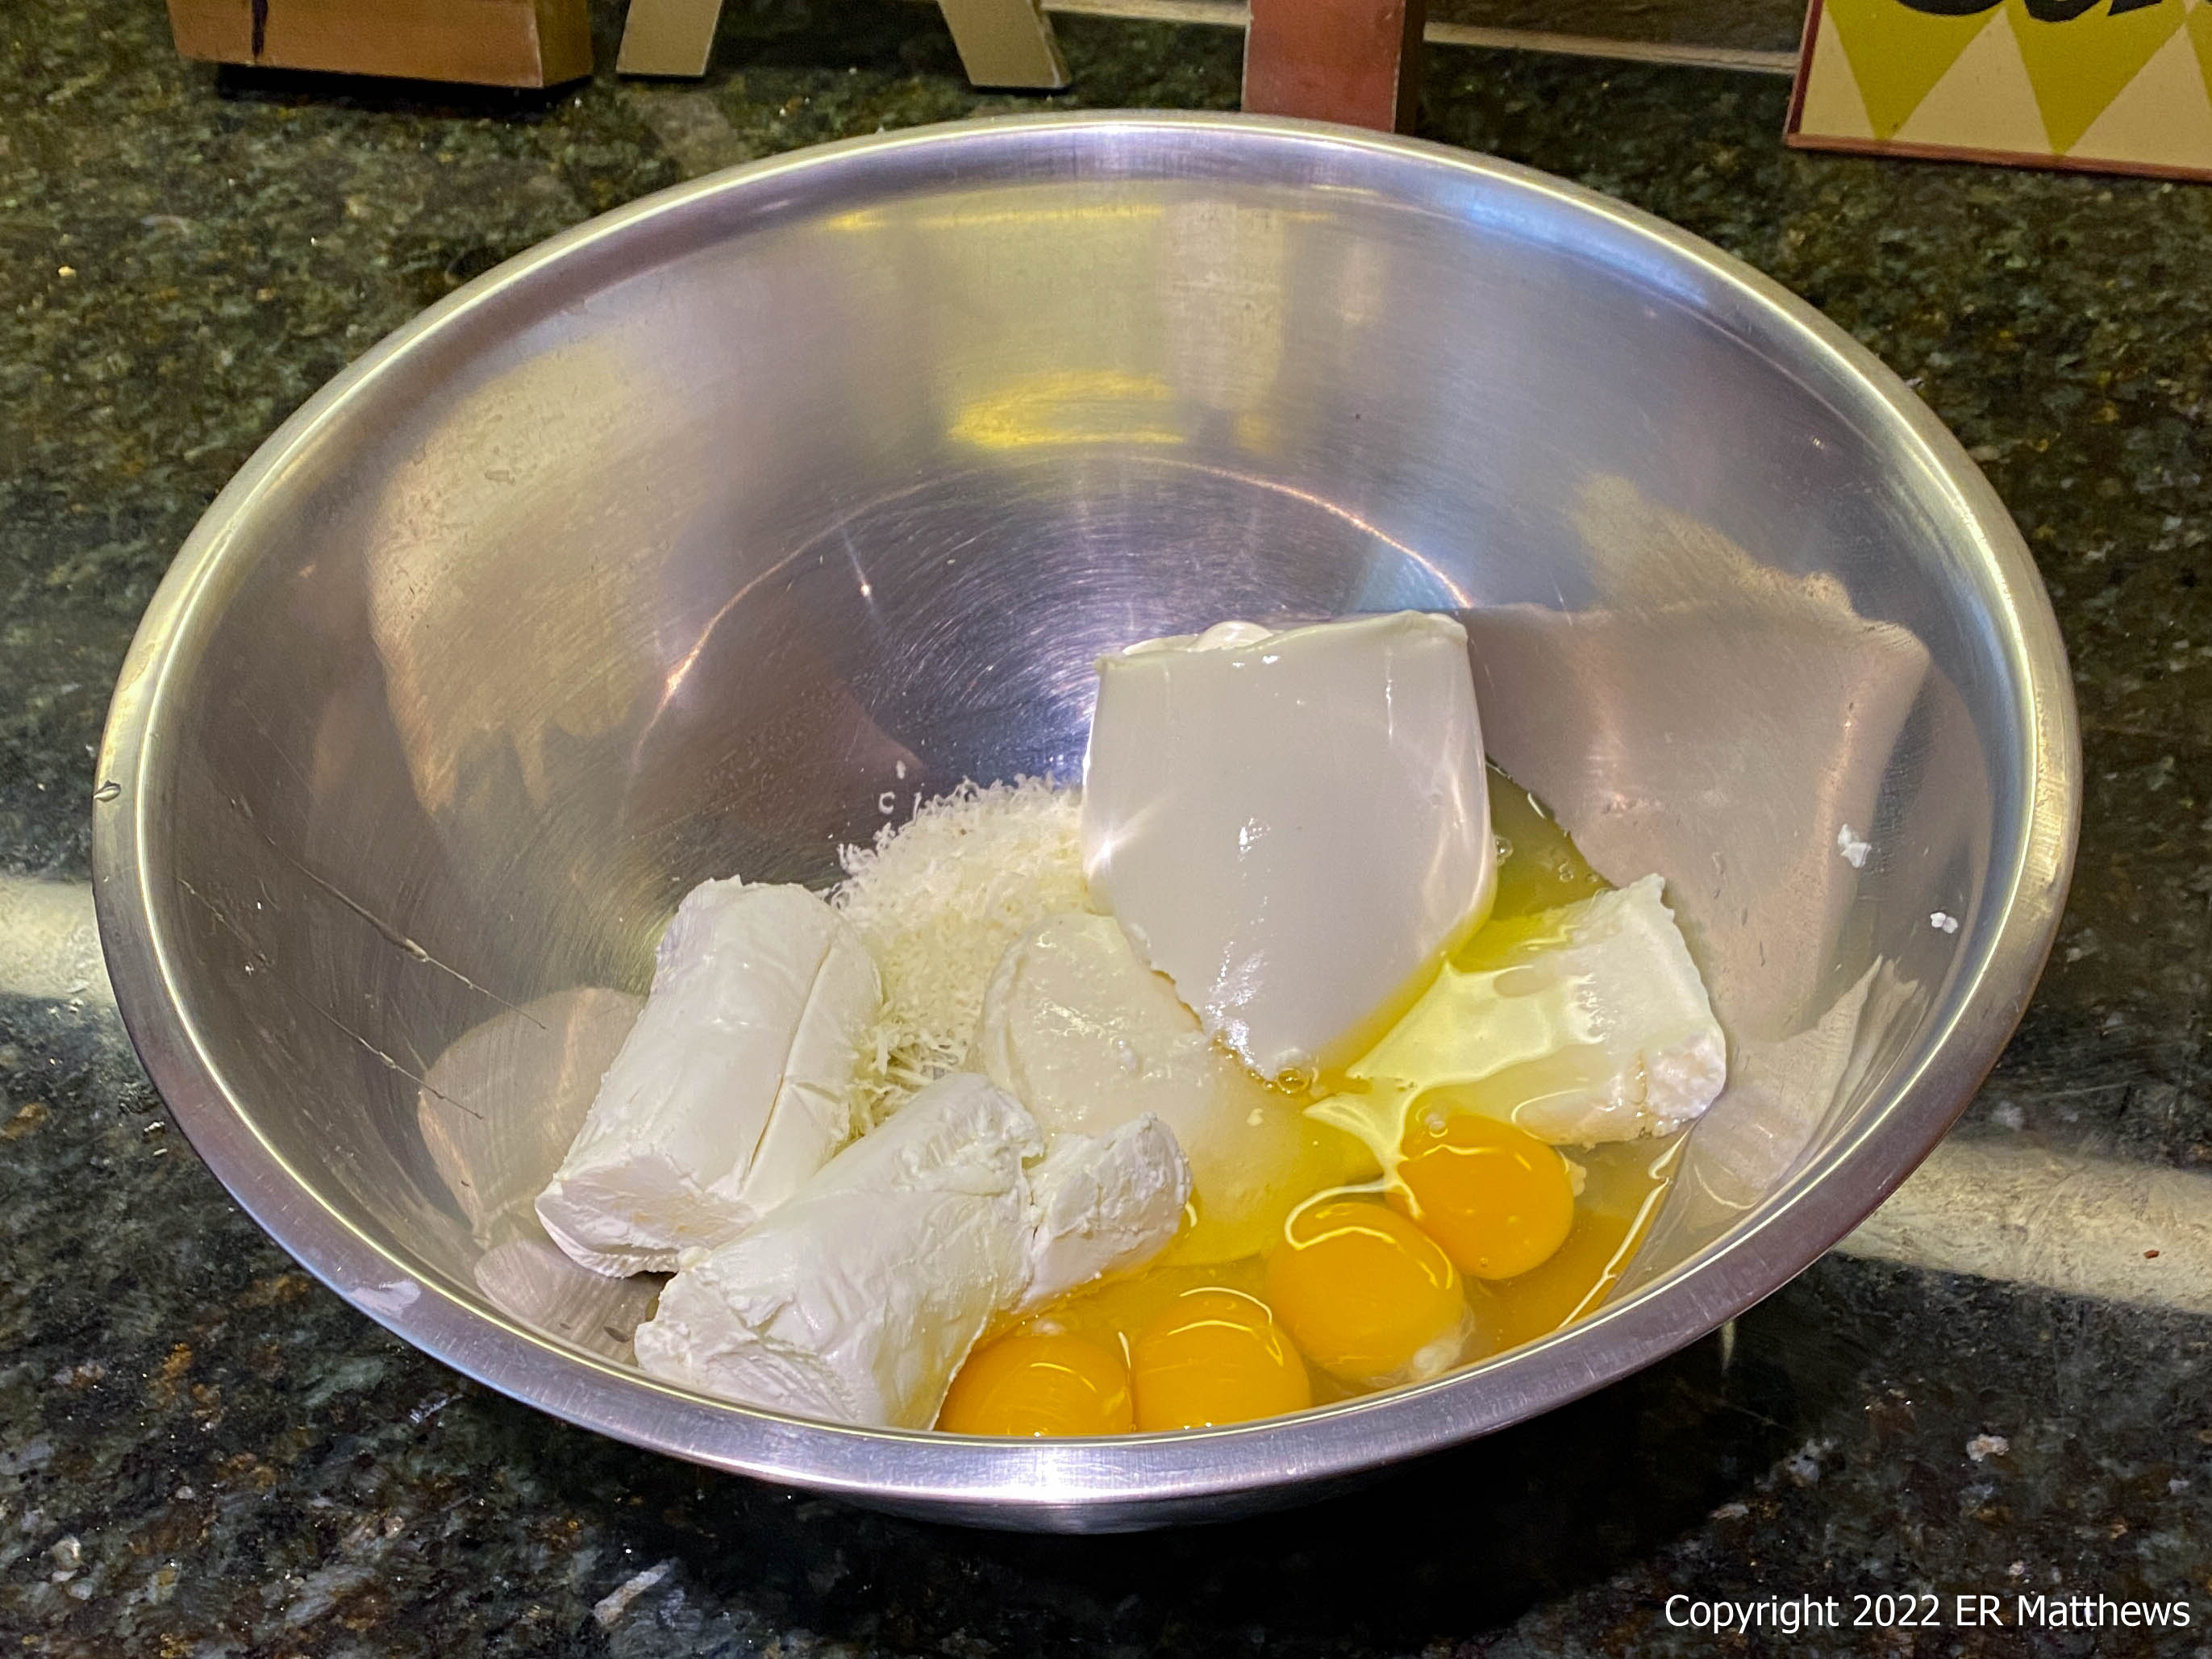
1 pint ricotta
Salt, to taste
2 large eggs
Finely chop all the vegetables. Destem the herbs and finely mince them. Reserve half of the sage and thyme for the sausage.
To a large skillet over medium heat, add butter or oil (your choice) and then the vegetables and herbs. Cook until the vegetables are limp and translucent, but do not brown. As I am cooking the mix, I taste it and adjust the herbs. I often find myself wanting more sage and thyme. Be aware that dried sage is much more intensely flavored than fresh.
Add the vegetables to the ricotta in a large bowl. Stir to mix well. Add salt to taste. Stir in two eggs and refrigerate.
 |
Ricotta Mix
|
Grind the Sausage
I will not hold it against you if you do not make your own sausage, but I do it out of tradition. Over the years, I have made a lot of sausage of many kinds. The one that reminds me most of my childhood in Virginia is flavored simply with garlic, red pepper flakes, thyme, and sage. But surely, I use much greater quantities than most people for I love assertive sausage. Garlic is not common in Virginia sausage, which tends to sage and black pepper, but I have to have it. One pound of sausage is plenty for this dish.
 |
Sausage Seasoning: Garlic, Red Pepper Flakes, Sage, and Thyme
|
1 pound fatty pork shoulder (or combination of meat and fat)
1/2 bunch fresh sage leaves, finely minced
1/2 bunch fresh thyme leaves, finely minced
1/2 teaspoon coarsely ground black pepper
1/4 teaspoon crushed red pepper flakes
6 cloves garlic, finely minced
Cube the pork shoulder (or pork and fat) into a size that will fit in your grinder. Before grinding with the small grinder plate, I like to put the cubes it in the freezer for 20 minutes to make them easier to work. I do not double grind this sausage; one pass is enough.
In a bowl, mix the white wine and the seasonings, then mix in the pork. Check the seasonings by cooking a tiny bit and adjust as necessary. Refrigerate.
 |
Ricotta Veg and Herbs and Sausage, Ready for Tomorrow
|
After all the prep was complete, Ann and I made a run to the wine store to pick up a case of local Pinot that has come in as well as to look for a bottle of Barolo to accompany our lasagna. We drink local Pinot all the time, but for this special meal, we want to drink our splurge wine, Nebbiolo. If we could afford it, we would have a cellar full of Gaja Barbaresco. We cannot and rarely can we even pop for a good bottle of Barolo, but for Thanksgiving, we take the plunge.
And that's it. That's all the prep that I can do in advance, spread over four days. Tomorrow, I have to make gravy and mix it with the turkey, cook the sausage with the mushrooms and make a thick béchamel, and par-cook the lasagne. After that, Ann and I will assemble the lasagna and put it in the oven.
Thursday (Was Thanksgiving Day, November 26, 2020)
Ann and I decide that we'd like to eat late afternoon, four or so, which means that we need do nothing in the kitchen before one in the afternoon. After working out in the garage and doing some yard work on the first non-rainy day in many days, I come in, wash up, and get to cooking. The final prep and assembly takes an hour and the lasagne takes 65-70 minutes or so in the oven. Allow an additional half hour or so for the lasagna to cool; it will be far easier to slice and serve when not scalding.
Make Turkey and Gravy
Step one today is to make the gravy which will sauce the pulled turkey meat. The roux (flour) base of the gravy will help set the turkey layers.
 |
Roux for Gravy
|
fat from top of container of pan drippings from roasting turkey
2 big heaping spoons flour
pulled turkey
Separate the fat from the top of the container of pan drippings from roasting the turkey. Turn on the flame to medium and let the fat cook for a couple minutes until it boils off any congealed stock clinging to the fat. It will stop popping.
When the pan stops crackling, add the flour, two big heaping spoonsful. A word of warning: adding damp flour to smoking hot fat is not something you should do haphazardly. The hot fat will flash the water in the flour to steam immediately and it may erupt violently in a volcano of superheated roux. There is a reason in the bayous that they call roux Cajun Napalm. Perhaps you should add flour to cool or cooler fat.
Cook the roux, stirring well and fairly constantly, until it becomes a pretty brown. When it reaches the desired color, carefully add all roasting pan drippings and most of a quart of turkey stock. In no time over high heat, it has become gravy. I season it and mix all but a tiny bit into the turkey, saving that bit to smear in the bottom of the lasagna pan.
Sausage Béchamel
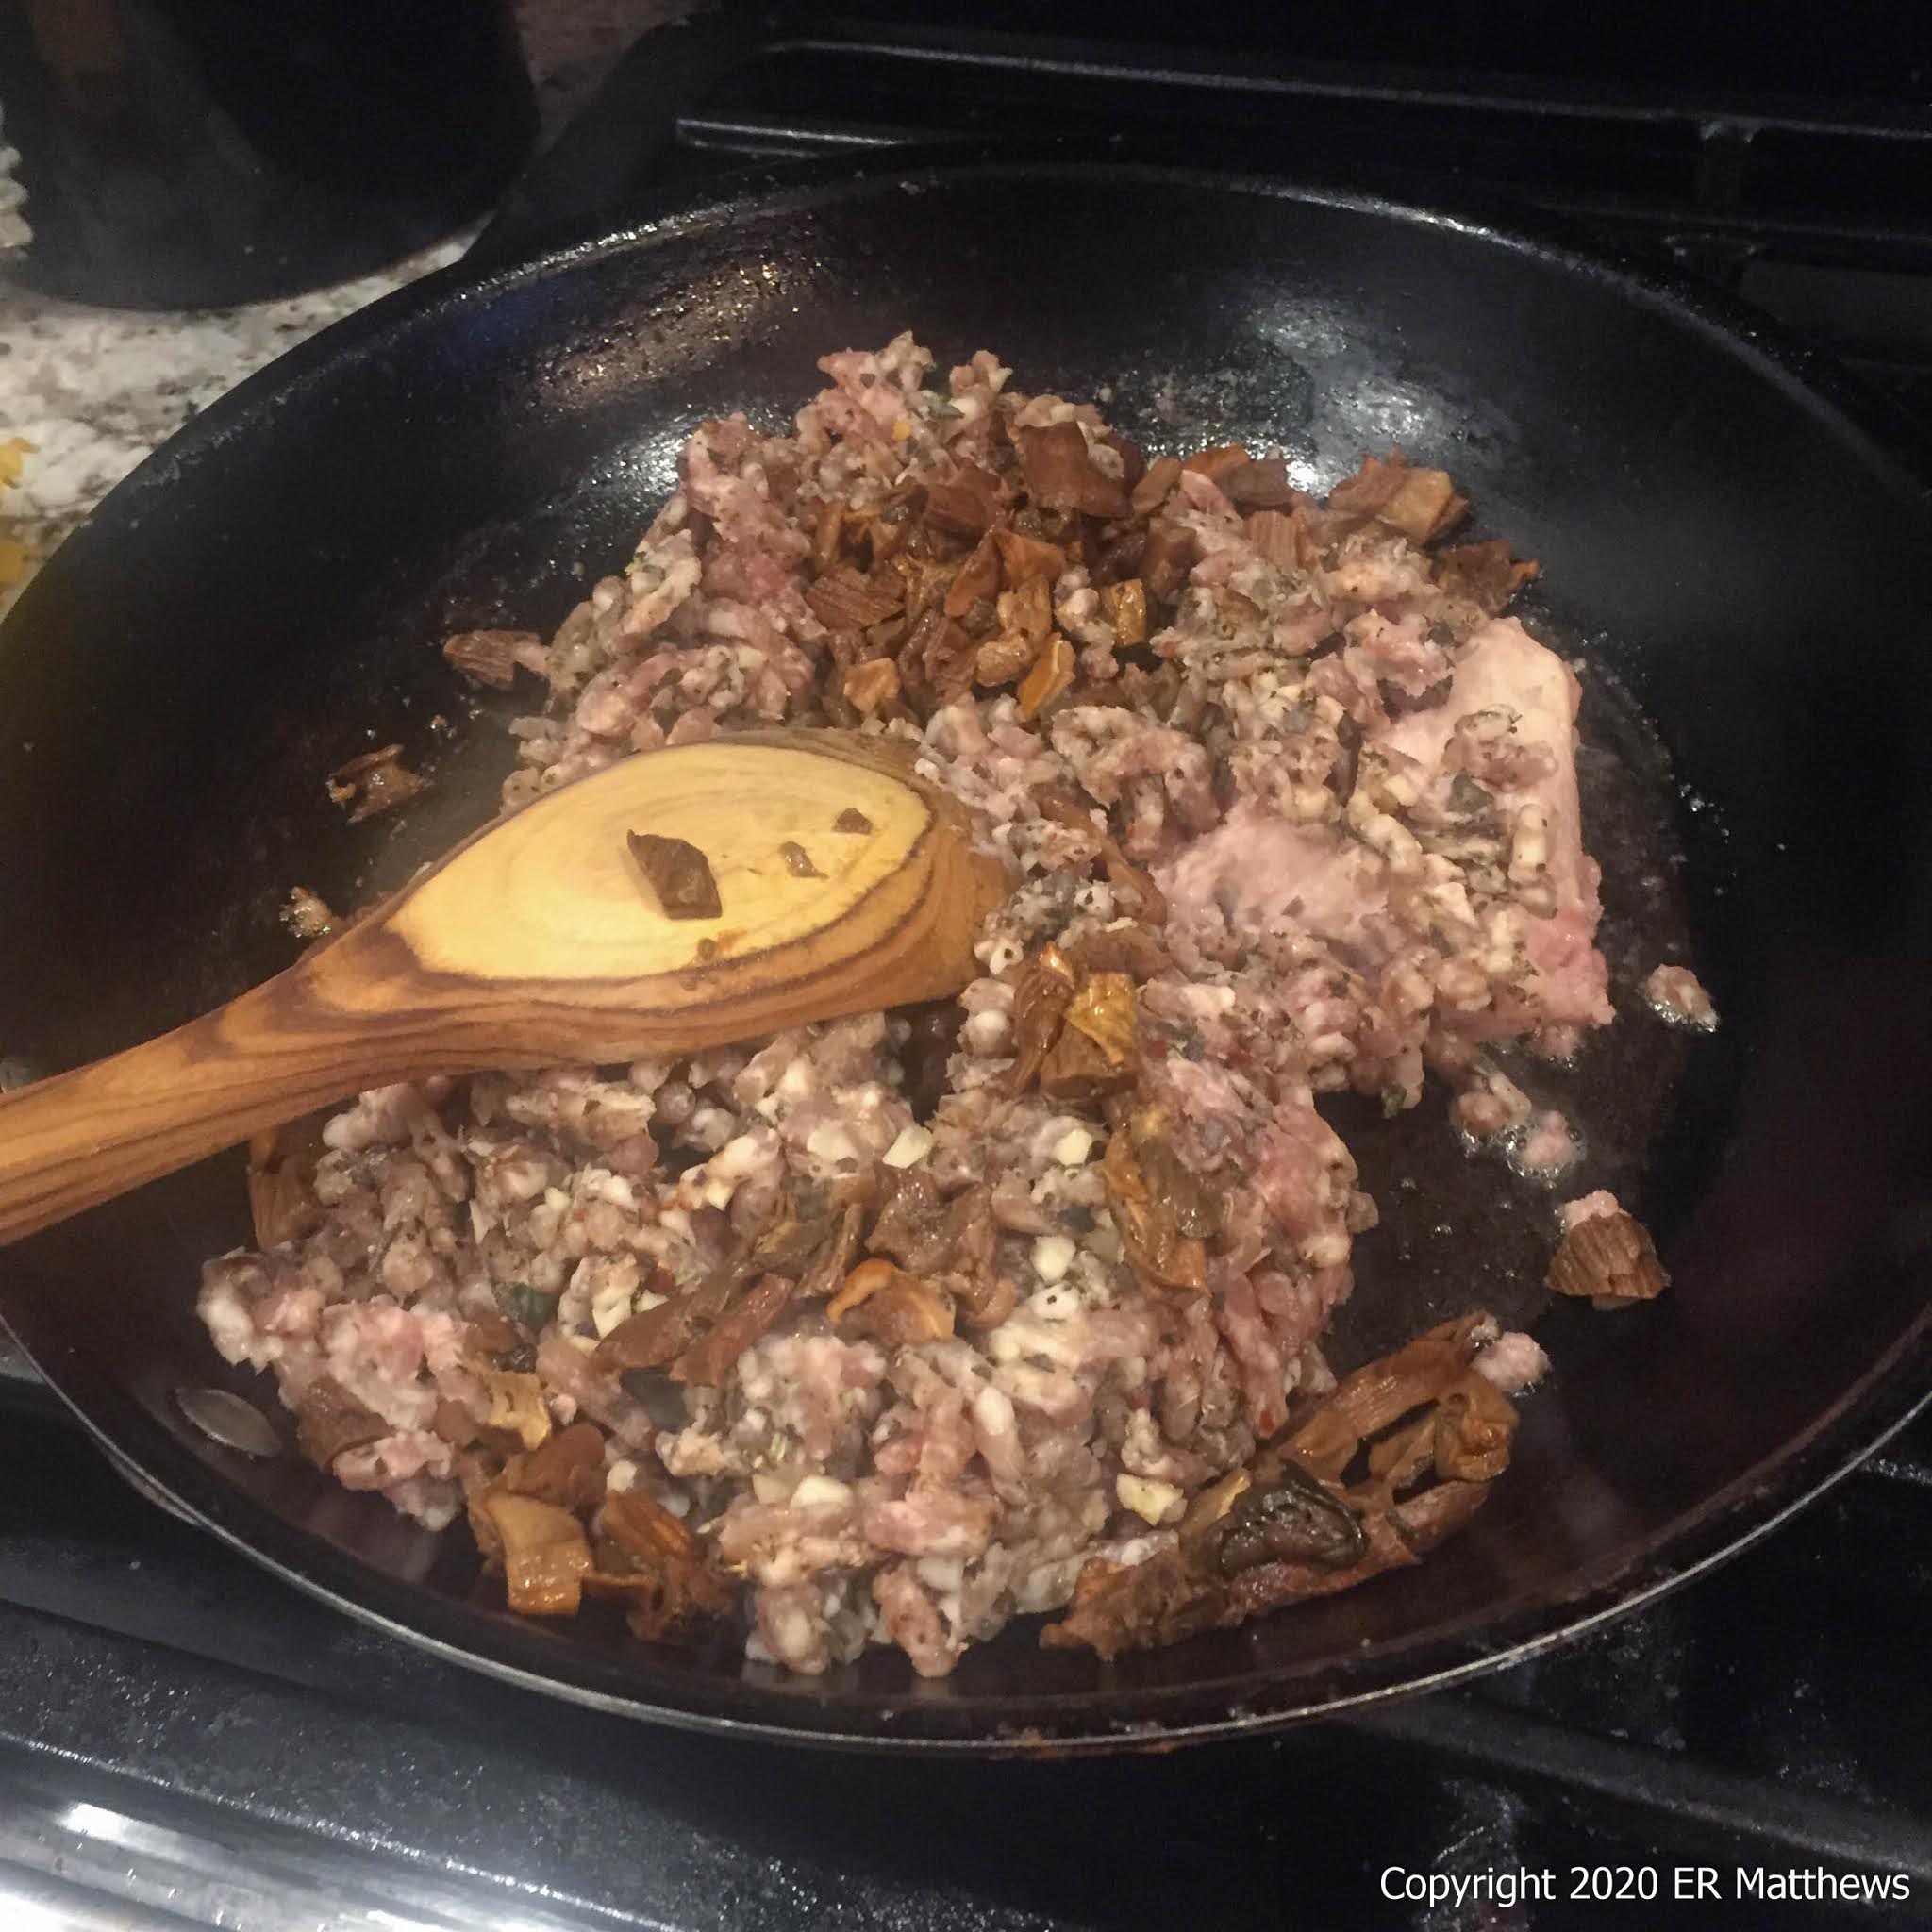
To start the béchamel layer, I first cook the sausage that I made yesterday. I put the sausage, the leftover pancetta butter, and chopped porcini into a large skillet and start it cooking. When the sausage is cooked through, I stir in a spoonful of flour and cook it for a couple of minutes. Then I add milk, a pint or so, maybe a couple ounces more. I cook the béchamel until it becomes thick. My official taste tester checks it out and proclaims it awesome. She says, "Make this next time we have biscuits and gravy!" I am proud that a Manhattan-born Italian girl recognizes it for what it truly is, what we Southerners call gravy. The Italians would call this besciamella and the French béchamel.
 |
Pork Sausage, Rehydrated and Chopped Porcini, and Pancetta Butter
|
 |
| Sausage Gravy Cooking |
rehydrated porcini, drained and chopped
1 heaping spoonful of all purpose flour
In a large skillet, cook the sausage and chopped porcini in the leftover pancetta butter.
When the sausage is cooked, stir in a spoonful of flour and cook for a couple of minutes.
Add milk and cook until the sauce is thick. Season to taste.
Par-cook Lasagna Noodles
All three of the layer fillings complete, there's only one thing to do: cook some noodles and get after it. I count out 22 lasagne, four for each of the five layers, and two spares. I cook my noodles until they just become pliable, four minutes, rather than the 8-10 minutes the package suggests. I cool them immediately under running cold water to stop them from cooking further. I have no fear that the noodles will not finish cooking in the oven: I have cooked literally tons of pasta in my life, one, two, or five pounds at a time.
Cook 22 lasagne, four each for five layers, two spares until just pliable, four minutes.
Cool immediately under cold water.
Assemble the Lasagna
Preheat the oven to 375F. Spray the half hotel pan with pan spray (or smear with oil or butter).
Reserve a little gravy and béchamel for the bottom and top of the lasagna.
Mix the turkey and the remaining gravy. Divide (just mentally is fine) the turkey into two portions for two layers. Remember that the mozzarella is just a little neutral glue that you will use in thin layers, perhaps a cup per layer.
Smear the reserved gravy on the bottom of the pan to keep the first layer of noodles from sticking and/or drying out. Build the layers in the following order from bottom to top:
thin layer of gravy
pasta
half the turkey in gravy
scant layer of mozzarella
pasta
ricotta
pasta
béchamel
pasta
the other half of the turkey in gravy
scant layer of mozzarella
pasta
thin layer of béchamel (to keep the pasta from getting hard)
grated pecorino romano
cornbread breadcrumbs
Cover the lasagna with foil, put it in the oven, and set the timer for 45 minutes.
After 45 minutes, uncover the pan and let it go for another 20 minutes to brown the top.
 |
Lasagna Ready to Bake
|
 |
Lasagna out of the Oven
|
After cooling for an additional 20 minutes, the lasagna is ready to serve. I cut it into 12 portions, each of which is a massive meal for one person. We head to the table, a pretty table that Ann has set for just the two of us, and start in on our pieces of lasagna. After all the work, it turns out so well, but is so filling that we immediately feel the need to walk around the block before dusk turns to dark.
 |
Thanksgiving Napkin Rings
|
We sip on glasses of Barolo while the lasagna bakes and finish the bottle with dinner. Though we mainly live on Pinot Noir, we are Nebbiolo fiends. We love it for what it has in common with Pinot: light body and high acidity. And we love it more for how it differs from Pinot: firm tannins and extraordinary complexity of nose and flavors. For us, this particular bottle is in the middle of the pack of all the Nebbiolo we have tasted. It ranks even lower on the price-to-value scale. We are spoiled: we judge it an adequate wine, but the unspoken verdict is that we are disappointed. It should be much better for the price we paid. Still, a bottle of Nebbiolo in a sea of Pinot Noir is a breath of fresh air.
 |
Barolo: It's What's for Thanksgiving
|
And so ends Thanksgiving 2020. Maybe, just maybe, I'll fire up the paellera and do a Thanksgiving paella next year. We'd need a crowd though: one of my paellas feeds 12-16 people. Now where can I get some turkey wings to put in the paella?