Showing posts with label stew. Show all posts

Wednesday, May 21, 2025

A Southwest Dinner

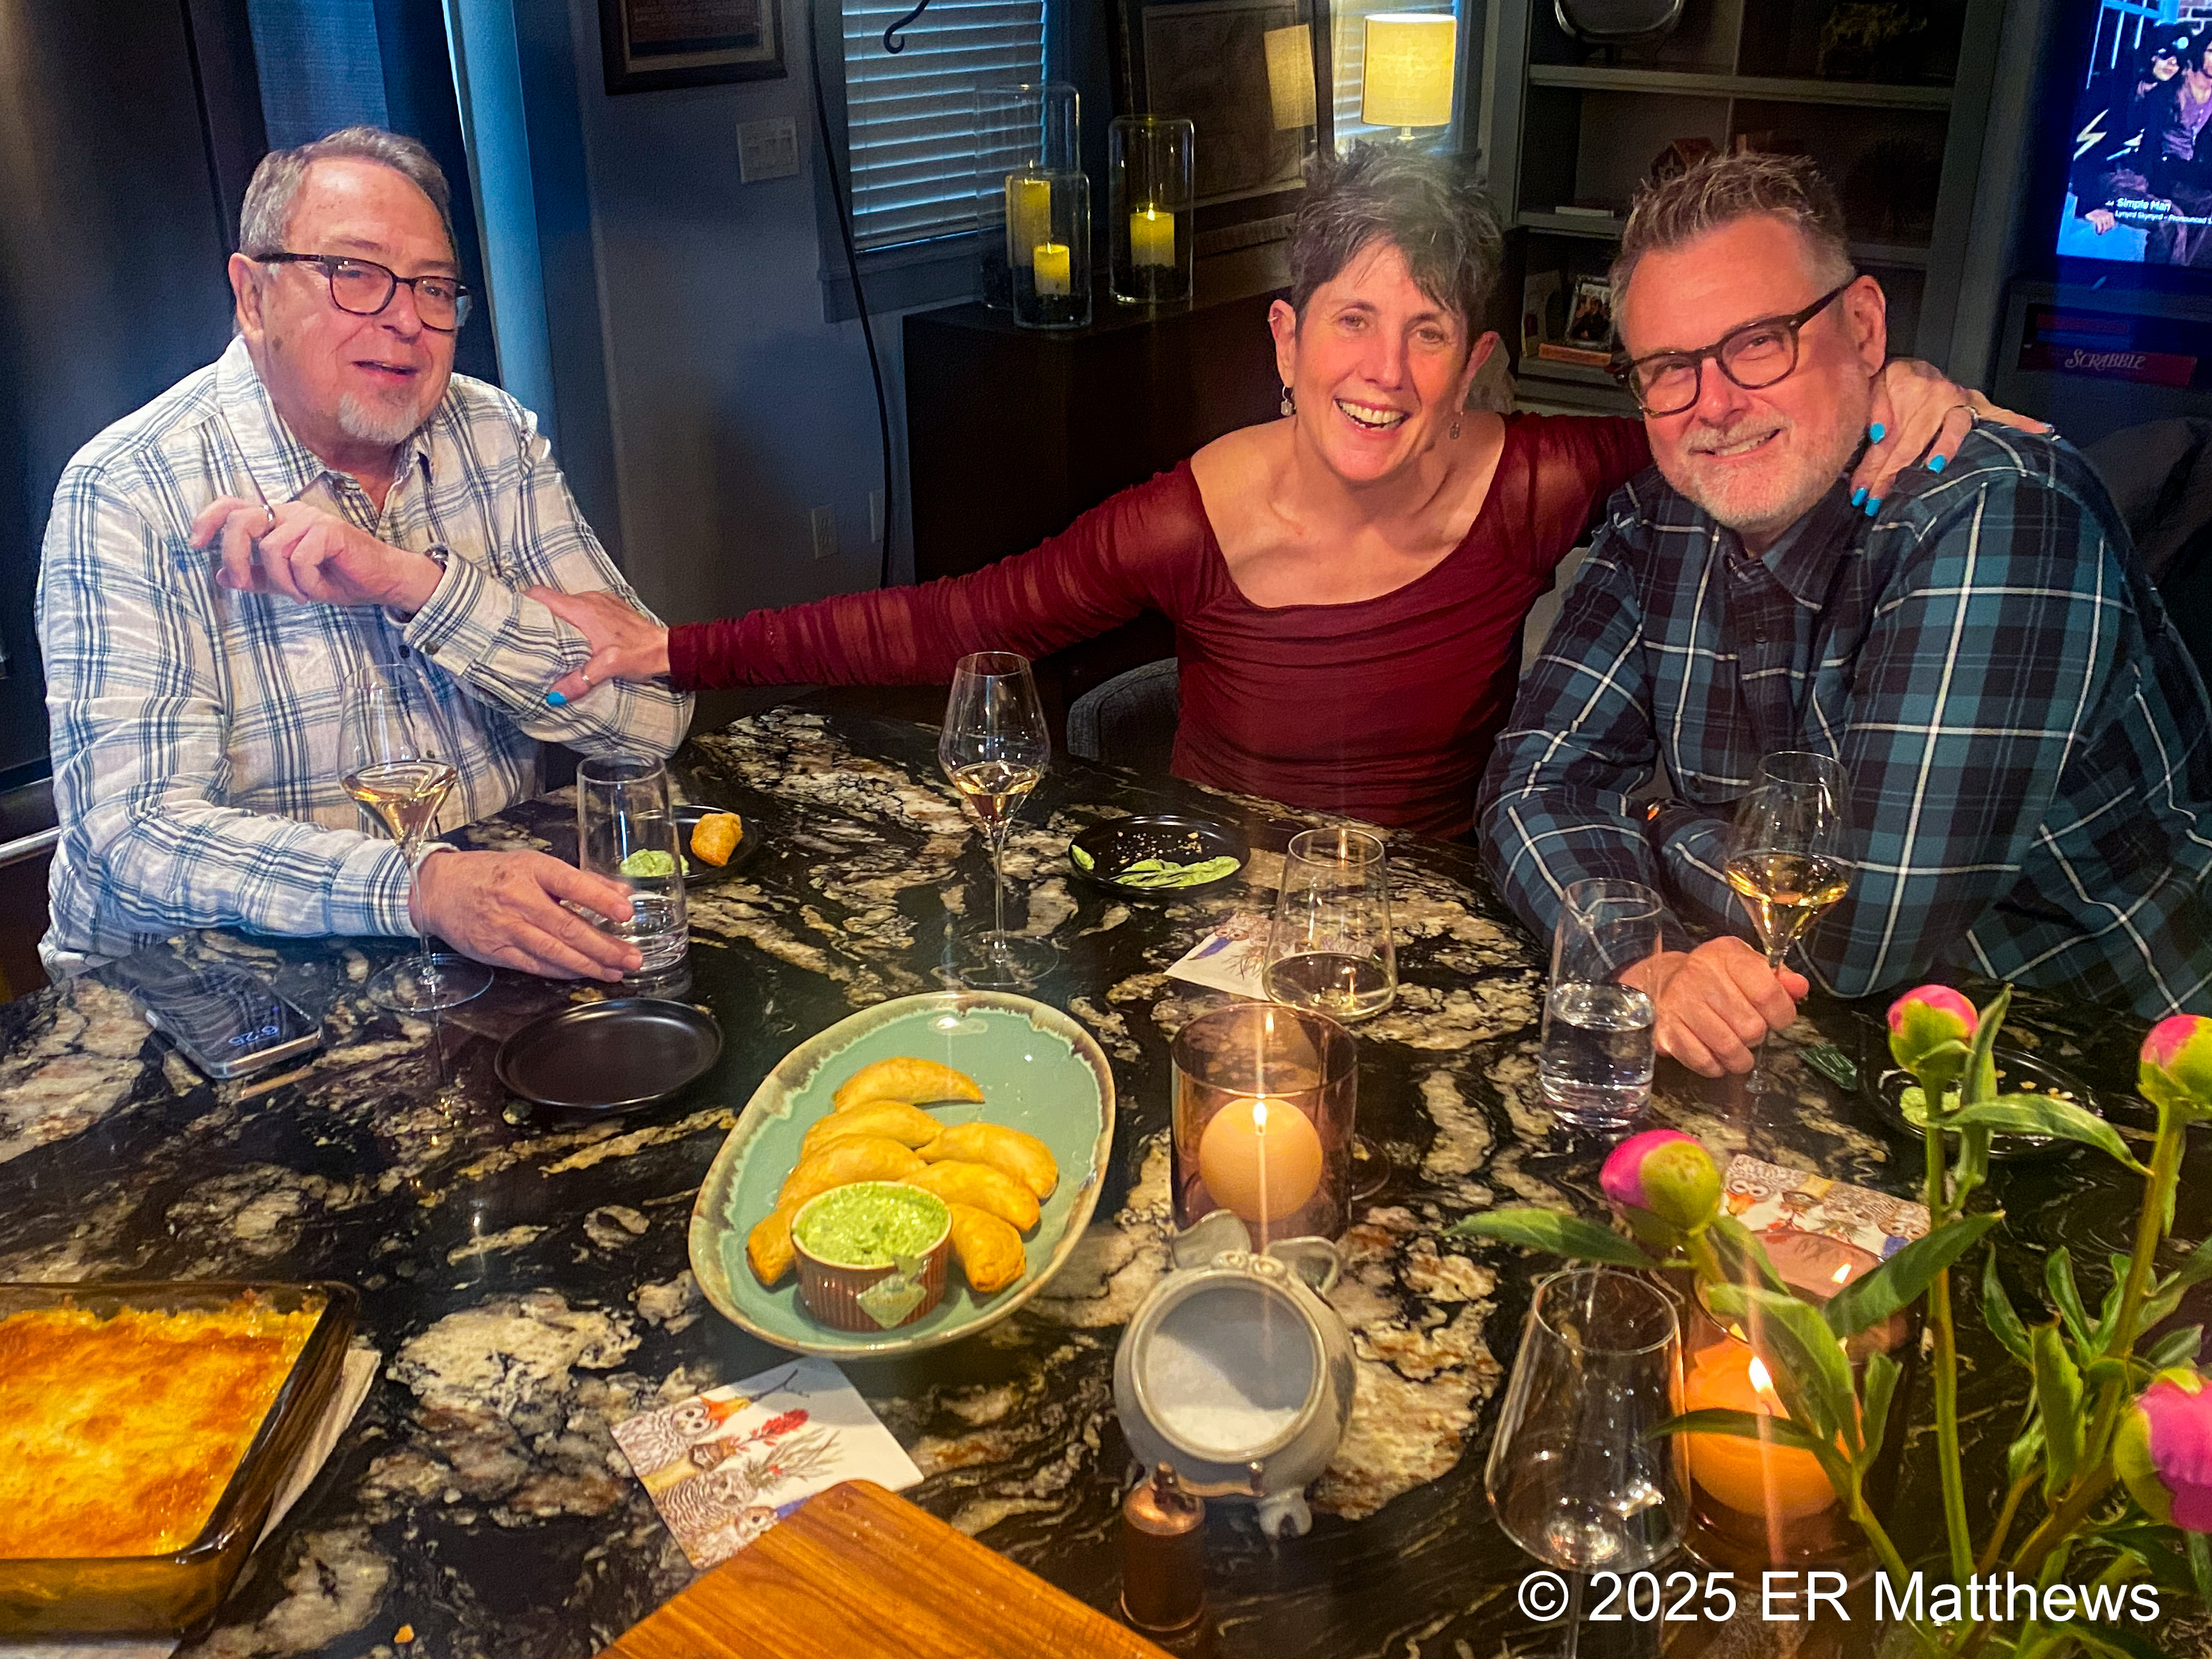
We're getting close to the summer travel season when we are going to be on the road somewhat often. Before we leave for Virginia for my daughter Ellie's wedding, we wanted to have Rob and Dyce over for a casual dinner.

Rob and Dyce Brought the Most Gorgeous Peonies
I really am trying to avoid dinners with lots of last minute cooking so that I can relax and focus on guests. That shifts meals towards braises and dishes without touchy timing. Ann had kindly suggested all manner of dishes, but nothing grabbed me.

Unclear on what to make and rooting through the freezer, I found a bag of cleaned and cubed pork shoulder from a foray to Costco. Their shoulders come in two packs and that's a ton of meat. I typically break down both shoulders into cubes for braises like carnitas and freeze what I don't need right away.

Knowing that Rob and Dyce are fond of New Mexican food had me thinking along those lines and so I decided to make chile verde. After pondering for a few days, I decided to make a posole casserole to accompany the pork, and to offer empanadas for an appetizer. After a week of beautiful weather, it cooled off again and the choice of heartier food seemed lucky and apropos.

Then I remembered the heirloom masa harina that Ann gave me for my birthday and I decided to make tortillas to accompany the meal. And so the menu was set with the only last minute task to cook the tortillas. Somehow in the course of moving, my tortilla press did not make it to this house and so I improvised using a cast iron pan and a cut open Ziploc bag.

Empanadas de Picadillo Dulce, Cilantro Aïoli
Empanadas I make with an egg-enriched pie crust that never fails to bake up flaky and golden brown especially when brushed with an egg wash. Habitually, I fill empanadas most often with picadillo dulce, a sweet and sour pork that I first learned about by reading old Spanish-language recipes in the Biblioteca Nacional de México.

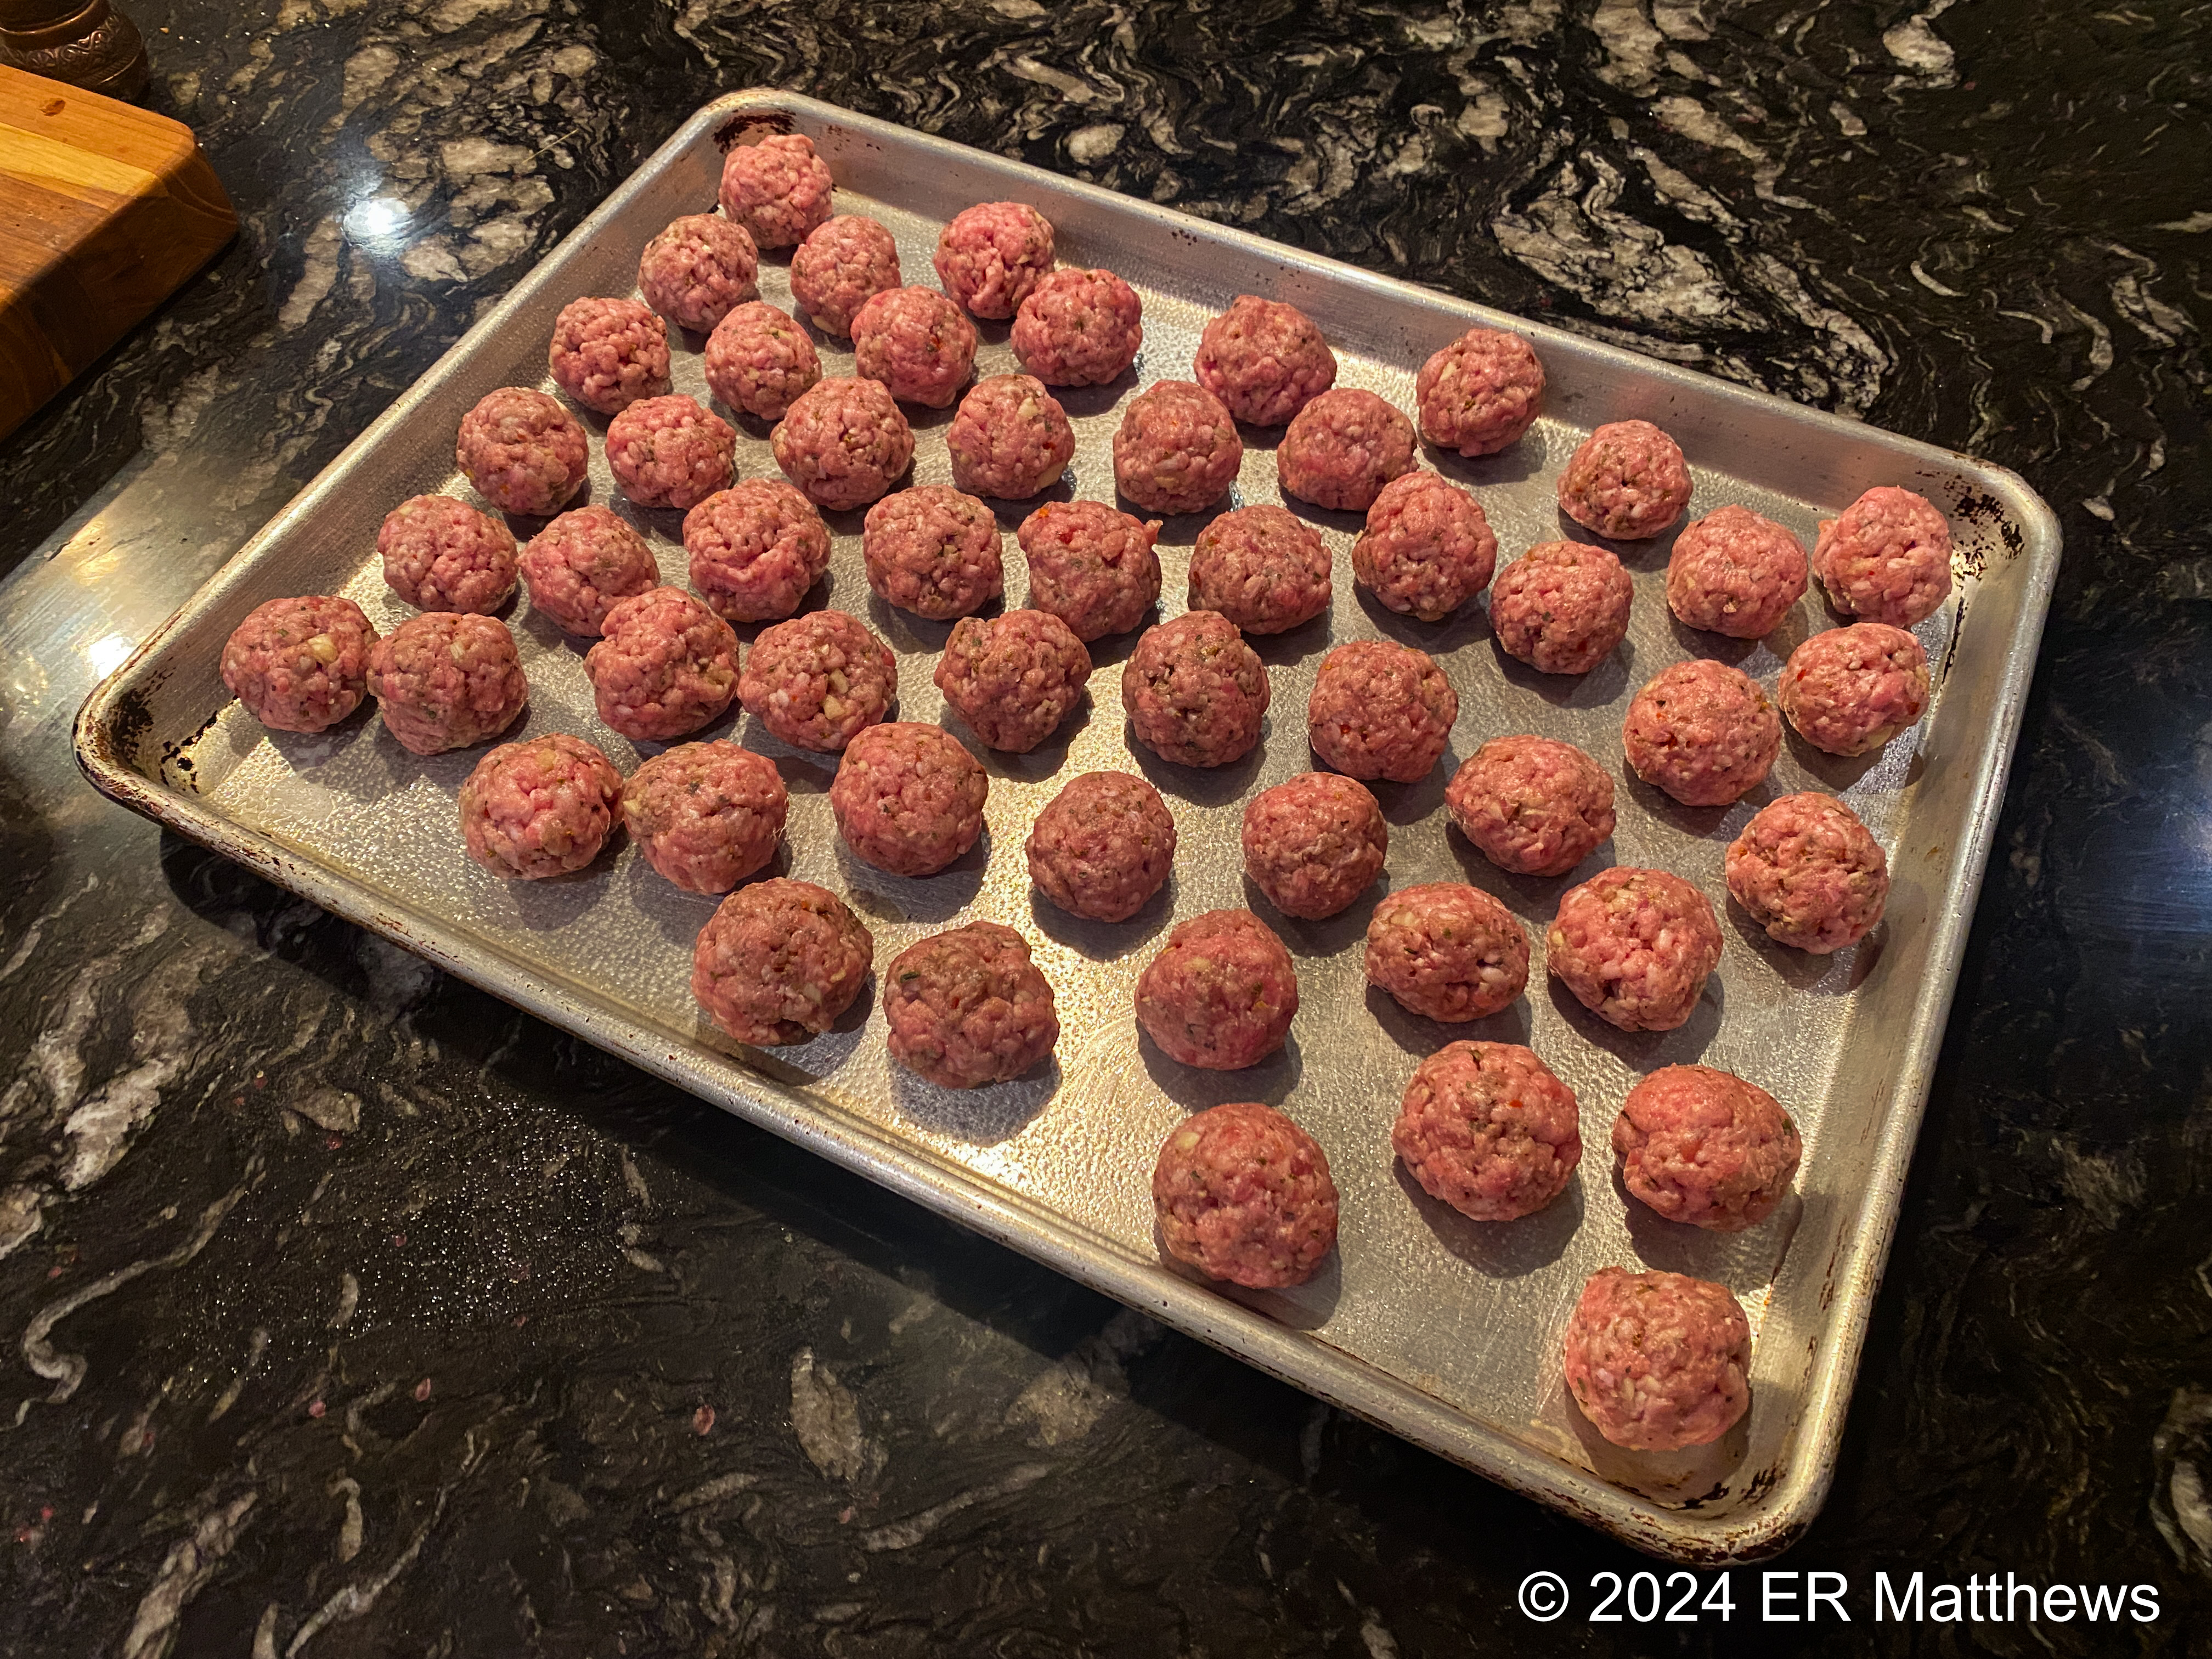
The filling is clearly of Moorish origin, containing almonds, olives, and sometimes raisins, though I have made it my own through the years. This version was ground pork shoulder, almonds, olives, onion, poblano chile, garlic, Mexican oregano, and three types of dried red chile (the majority ancho). I made it sweet and sour with brown sugar and Sherry vinegar. I have outlined the process in a previous post.

Masa Balls for Tortillas
Ghetto Tortilla Press: My 1930's Griswold Skillet
Tortillas on the Table
Chile Verde, Posole-Chipotle Casserole, Tortillas
Chile verde is not a recipe but an idea. At essence, it is cubes of pork braised in a salsa verde. There are as many ways to make it as there are cooks and they are all wonderful. I am certain that I make it differently each time and this time, I used the slow cooker to free our single oven to use in baking the posole.

For chile verde, there are two essential steps. First, make a salsa verde and second, brown the meat and braise it in the salsa.

For salsa verde, I roasted at high temperature (say 400F) a sheet tray of poblano peppers, Anaheim peppers, onions, garlic, and tomatillos. I rotated the chiles as each side became blistered. Once done, I pulled the tray out and covered it in film so that the veg could steam until cool and loosen the pepper skins.

Next up, I skinned and cleaned the peppers, dicing and reserving three or four Anaheims for the posole casserole. The peppers, garlic, tomatillos, onion, and a bunch of fresh cilantro went into the food processor. I blended it until roughly smooth and put it in the slow cooker.

For the pork, in recent years, I have adopted a process by which I only brown one surface of the cubes. This provides great flavor while not drying out the pork. After browning all the pork and putting it in the food processor, I deglazed the pan with a splash of water and poured all the porky goodness into the slow cooker with the pork and salsa. Eight hours later, the pork was tender and the sauce reduced to just the right thickness.

The posole casserole, something I started making in my 20s as a broke graduate student, I assembled in the afternoon and put into at 350F oven about 90 minutes before we were ready to eat. Timing is not critical, a delightfully brown crust is.

I admit that I did not make my own posole, though I could. I bought two 28-ounce cans of commercial hominy, the same Teasdale brand that I used in the restaurant. One can each of yellow and white hominy went into a mixing bowl with the reserved chopped green chiles, half a bunch of sliced green onions, and the kernels of one ear of fresh sweet corn for contrast and variation on the corn theme. Purple hominy (maíz morado) would have been cool, but my store had none.

I bound the casserole with a chipotle béchamel: olive oil and a spoon of flour cooked for a minute, then a pinch of salt and one finely chopped chipotle in adobo. After mixing the hominy and sauce, I adjusted the salt and put it into an oiled baking dish and topped it with a little grated white cheese. The result is as delicious as it is simple.

Making tortillas with modern masa harina is a trivial process of mixing the corn flour with enough water to make a workable dough. Then you roll it into balls and smash the balls between sheets of plastic (or a cut open Ziploc freezer bag in my case) in a tortilla press (or beneath a cast iron skillet in my case). We restaurant chefs are used to adapting and overcoming: no tortilla press, no problem. I can even patty them by hand, old school.

After peeling the masa circle off the plastic, it goes into a hot, dry frying pan on low to medium heat. Cooking both sides takes less than a minute and if I had a flat-top, I could have cooked them all at once rather than one at a time. Naturally, I could have fired four pans on the stove and cooked four at a time, but no matter. We were all busy yakking while I was pressing and cooking tortillas.

It should be axiomatic that a tortilla is only as good as the masa from which it is made. And if you use shitty Maseca or Masa Brosa, you are going to get a shitty tortilla. My masa is from Masienda and is processed from heirloom corn varieties grown on small farms in Mexico. It is expensive relative to the big brands (but even so, tortillas cost cents), but it helps sustain small farmers and preserve heirloom corn varieties.

Monday, April 8, 2024

Lima Bean and Beef Stew

Ann really likes to have a steak now and again and our usual grocery has very hit-or-miss quality beef. As do most stores here in Central Oregon. We are totally spoiled for the incredible quality of beef that I got at the restaurant. On this foray to the store, when the better steak cuts (rib and strip steaks) looked extremely unmarbled and unappetizing, I decided to take a flyer on four small chuck eye steaks, which I have known in the past restaurant days to be a reasonable alternative at a decent price.

Lima Bean and Beef Stew
I pan-roasted one pair of steaks and they were just awful, tough and unappetizing. This experience should be a teaching moment for me, as in, never again! Accordingly, I resolved to braise the others into a beef stew of sorts. When considering making the stew, I remembered that I had a bag of Rancho Gordo large lima beans in the pantry and that set my stew wheels in motion.

The night before making the stew, I put the beans on to soak and then the following morning, I par-cooked them until they were starting to soften, about 90 minutes. I transferred the beans and their cooking liquid directly to my slow cooker.

Rancho Gordo Large White Limas, Soaked
To start the stew, I first browned the steaks on one side before cutting them into cubes and moving the cubes to the slow cooker to join the par-cooked limas and chunks of onions, carrots, and celery. I only browned one side as a compromise between flavor and tenderness. If you highly brown very lean meat, you risk really drying it out even though the slow cooking will render it tender. Tender and dried-out is still dried-out and dried-out is no good.

After deglazing the steak pan with a good slug of red wine, the wine and brown bits from the bottom of the steak pan went into the slow cooker. Next I added two secret weapons, flavor enhancers, to the stew: a big scoop of glace de viande (a highly reduced meat stock that I keep in the refrigerator as a staple) and a smaller scoop of tomato paste.

This tomato paste is not just any tomato paste, however. It is the most insanely good and expensive tomato paste in the world and one that would be great simply smeared on a crostino. Rob turned me on to this incredible product from Sicily, where tomato paste is called estratto di pomodoro, estratto meaning extract. It is the most delicious umami bomb!

Best Tomato Paste Ever!
Before leaving the house for errands, I topped off the liquid in the slow cooker with enough water to ensure that the limas were totally submerged and turned the slow cooker onto low for about 7 hours. Later, we came home to wonderful stew aromas.

Stew Ingredients Ready to Slow Cook
To finish the quite liquid stew (on account of adding sufficient water to ensure the beans would be thoroughly cooked), I removed a pint of liquid and reduced it over high heat to a very small quantity which I added back to the stew. Then I dropped the immersion blender in one end of the pot and blitzed a small amount of beans and vegetables, enough to thicken the sauce without using any binding agent.

The verdict on these large limas? Silky, tasty, and I would order them again.

Monday, April 1, 2024

Snowcap Beans and Chicken Adovada

In my further exploration of interesting beans, today's post features Snowcap Beans from Rancho Gordo cooked in the style of carne adovada from New Mexico. Rather than making it with beef, which we rarely eat, I made it with bone-in, skin-on chicken thighs.

Snowcap Beans and Chicken Adovada
A word on nomenclature: for you Spanish speakers, the pork dish marinated and cooked en adobo is called carne adobada, "marinated" in Spanish. Because the adobo/marinade/sauce is largely red chile, it can also be called enchilada ("covered in chile"). In New Mexico north of the border, however, the spelling has differed slightly (more along the lines of how some people pronounce adobada) to carne adovada. I use the New Mexican spelling to indicate that I'm making an American dish versus a Mexican one which typically features more spices such as cinnamon and allspice.

Snowcap Beans
Snowcap beans are new to me; I bought them because I have no idea what they are like and I like their great looks. The name snowcap is descriptive: they are large cannellini-sized kidney-shaped tan beans with chestnut stripes reminiscent of Borlotti or Bird Egg beans, the whole draped with a seemingly hand-painted blob of white. In short, they're beautiful beans.

After Overnight Soak in Salted Water; Ready for Par-Cooking
The first steps with these beans, like all dried beans that I cook, is to soak them overnight in lightly salted water and then to par-cook them until they are tender. As a rule of thumb, smaller beans will take an hour of simmering to partially cook, while the largest beans can take up to two hours. 

Browning the Chicken
Once the beans are nearing ready, I start by browning the chicken and then removing it to my slow cooker. After draining off any excess schmaltz (chicken fat), I start cooking my mirepoix of onions, poblanos, cilantro stems, and garlic in the same pan in which I cooked the chicken. 

When these vegetables were cooked, I added them to the slow cooker with the chicken and the now-cooked beans and their liquid. I added a half a cup of so of ground Chimayo chile to the pot along with a couple tablespoons of Sherry vinegar (vinegar being a key component of adovada), some Mexican oregano, and some salt. 

Slow Cooker Loaded and Ready to Cook
I put the slow cooker on low for several hours while Ann and I went out to the local pub for beers with friends. When we returned, lubricated and ready to eat, the aromas coming off the slow cooker were amazing. The verdict on the Snowcap beans is that they are large, plenty creamy, and delicious enough to want to reorder time and again.

Tuesday, March 26, 2024

Mexican Cassoulet

In response to yet another snowy stretch in March, Ann and I were looking for something warm and comforting. One of us suggested a White Chicken Chili, an easy-to-make slow cooker dish that we eat somewhat frequently in the winter. It's a simple stew of dried white beans, chicken thighs, onions, poblanos, chopped cilantro, garlic, and Mexican oregano with water to cover. I throw into the slow cooker in the morning and it cooks itself all day. The prep work is trivial: dicing the onions and chiles and peeling and mincing garlic, a matter of five to ten minutes. The results are wonderful for such a minor investment in prep.

A Bowl of "Mexican Cassoulet"
This time, rather than using the usual if unspectacular Great Northern Beans, I remembered that we have a big box of beans from Rancho Gordo in the pantry, so I went fishing in that box and pulled out a pound of Rebosero Beans. I don't know these beans from Mexico at all but they seemed like they would make a nice pot of beans with chicken and green chiles.

Somehow between putting the beans on to soak overnight and the next morning when I started to cook the beans, I decided to cook the chili in the style of cassoulet just like I had done recently with the Tarbais beans that I got from Rancho Gordo.

Rather than dump everything in the slow cooker, I proceeded just like cassoulet. Step one was to par-cook the beans with two cloves of garlic and two bay leaves. Step two was to brown the bone-in, skin-on chicken thighs. Step three was to cook the mirepoix (poblanos, onions, and minced cilantro stems) with a bit of Mexican oregano and garlic. Step four is to mix the beans with the mirepoix and put half of them in a casserole. On top of this, I layered in some very spicy green chile that Rob and Dyce brought back from their last trip to Santa Fe.

Next, in went the chicken and then the rest of the beans on top. The final step was to pour all the bean cooking liquid over the top and then put the uncovered casserole into a very slow oven for about six or seven hours. Unlike a traditional cassoulet, I did not punch the crust down and let it re-crust, for the simple reason that we were not home.

Rebosero Beans Soaking Overnight
Par-Cooking the Beans
The Finished "Mexican Cassoulet"
The results were quite astoundingly good. And I'm in love with these rebosero beans. They are certainly my new favorite bean for refried beans, far surpassing Mayocobas, my previous favorite.

Thursday, March 14, 2024

Christmas Lima Beans Bourguignon

As I continue to play with the box of dried beans that I got from Rancho Gordo at the beginning of the year, next up on my list was the bag of gorgeous Christmas Lima Beans, huge limas with chestnut-colored mottling.

Christmas Limas After Overnight Soak
These huge beans are reportedly quite meaty, so I decided to treat them like meat. And I was disappointed with the results, truth be told. But not all our dishes can be wins, can they? Not if we're experimenting.

Rummaging through the pantry, I saw my canister of dried porcini and that cued me to braise these limas with bacon, onions, porcini, and red wine, in the manner of boeuf bourguignon

Dried Porcini
Mirepoix: Leek, Onion, and Carrot
I cut several strips of bacon into crosswise strips called lardons and then rendered those lardons. The lardons went into the slow cooker with the beans while I poured off most of the bacon grease and sweated the leeks, onions, and carrot in the remaining grease. As the onions became translucent, I sprinkled a couple tablespoons of flour over the vegetables and cooked the mixture for another couple of minutes. Finally, I added a half a bottle of Pinot Noir to the pan and let the sauce thicken for a couple of minutes before pouring it over the beans in the slow cooker.

Christmas Limas with Porcini Liquid, Porcini, Bay, and Thyme
Added Bacon Lardons, Mirepoix Sweated in Bacon Grease, and Pinot Noir
7-1/2 Hours Later: a Big Bowl of Beans
I mentioned above that I wasn't happy with this dish. It was tasty and perfectly edible, but I won't be doing it again for two reasons. First, the melding of the beans with the bourguignon technique yielded something less than the original dish made with beef. The delicious red wine gravy added nothing to the beans. And second, after soaking overnight and then braising for 7-1/2 hours, a full third of the beans were still crunchy and not cooked through. To me, this seems like a quality issue with the beans and not an issue with my cooking of them.

These beans are so beautiful. I'm a bit sad that I'm not jumping for joy after having cooked them (and truth be told, probably will never again do so).

Friday, March 1, 2024

February Celebration: The Luckiest Beans on Earth

Let's Celebrate!

Mid-February has become a time to celebrate at our house. Valentine's Day, my birthday, and our anniversary of having moved to Bend, this year our second so-called Bendiversary, all fall within a week of each other. Accordingly, we aim to have a small party each February to mark these events. What better to do in this bitter cold season than have a party?

Another February Cassoulet in the Books
For this year's celebration, Ann asked me to make a cassoulet. If you have never had cassoulet, it is a bean and meat stew with four components: beans, meat, stock, and a mixture of diced aromatic vegetables called mirepoix. If you look back to all my cassoulet posts, I tend to make them in February at the worst of the cold season for good reason. Cassoulet is arguably the greatest cold weather comfort food in the world. Thank you France for this wonderful celebratory concoction!

Prepping for Cassoulet

For the cassoulet that I would serve on Saturday night, I started the prep work early Friday morning, right after shoveling the overnight accumulation of snow, a pretty typical chore on a February morning. The day-before prep for cassoulet is pretty limited: soaking the beans overnight and making some delicious pork stock in which to cook the beans.

The first step in making stock is to roast your bones. For pork stock, I use pork neck bones that are both inexpensive and contain delicious meat. I am guessing that if they are readily available here in Central Oregon, you can find them just about anywhere. The trick with roasting bones is time. Put them on a lightly oiled sheet tray in the oven and roast them until they are golden brown on all sides, turning them as necessary. It's not a process that you can or should rush. Cassoulet is only as good as the stock that you cook the beans in.

Having turned the roasting pork neck bones on the sheet tray and put them back in the oven to continue browning and getting sexier and sexier, I was standing at my cutting board, my nose reveling in the porky goodness of the aroma emanating from the direction of the oven. I remarked to Ann, ensconced on the sofa by the fire and nose down in her phone, "How do think these beans are going to feel, being slowly cooked in all that porky goodness?" And she replied, "They're going to be the luckiest beans on earth!"

While the bones were roasting, I did some pre-prep on the vegetables for the mirepoix: onions, carrots, leeks, and celery. While I would dice the mirepoix vegetables on Saturday morning, I wanted the vegetable scraps today for flavoring the stock. To that end, I peeled the onion, trimmed the ends of the carrots, peeled off the tough outer leek leaves, and trimmed the leafy ends of the celery. Be sure to wash the leek leaves well; they can accumulate a lot of dirt, or worse, sand.

After the pork neck bones browned, I put them in a stock pot with all the peels, ends, and scraps of the mirepoix vegetables. Filled with water, the stock pot simmered gently for several hours before I separated the solids from the stock. The stock went into the refrigerator to congeal so that I could remove the fat from the top. After the solids cooled, I picked all the neck meat from the bones to put into the cassoulet on Saturday.

Last thing before going to bed Friday night, I put two pounds of beans in a bowl and covered them with a lot of salted water to soak overnight. I had been wrestling with the choice of beans for a few weeks. Two weeks prior, I put an order in to Rancho Gordo for a big box of beans including my two potential candidates for the cassoulet: Tarbais and Steuben Yellow Eye beans.

I have made many cassoulets in my life, about half with the traditional bean from from the Tarbes area in the far southwest of France up against the Pyrenees, the Tarbais bean; and about half with a traditional American bean called the Steuben Yellow Eye, purported to be the original bean in Boston baked beans. Heretofore, I have always slightly preferred the yellow-eyed beans.

Both beans are loved because while holding their shape, they become ultra creamy inside, exactly what you want for cassoulet, which is nothing if not a super peasant dish of pork and beans. After waffling for days on the choice, I decided to go with the original beans, the Tarbais. I was not disappointed; the resulting cassoulet could not have been better. And I still have Steubens to craft into some other delicacy!

Cassoulet Assembly


Would Anyone Manage to Get Here for Dinner?
Overnight Friday into Saturday morning saw a considerable amount of additional new snow and the forecast had it snowing all day. Both of the couples we invited live up big hills that the snow could make impassable, so during the day on Saturday we weren't sure if our party would come off or if we would be eating cassoulet by ourselves. Regardless of the weather, cassoulet is pretty much of an all-day affair and I needed to get started on it. After shoveling snow again, naturally.

The first item of business was to get the beans par-cooking. I drained them and placed them in a stock pot with fresh water and a bouquet garni of fresh rosemary, fresh thyme, and fresh sage. These herbs would impart a slight flavor to the beans while making the kitchen smell amazing for the 90 minutes in which the beans par-cooked.

In my past restaurant days, we had all kinds of meat garnishes for the cassoulet, especially after we butchered one of the hogs that we had a local farmer raise for us. In addition to pig's feet for the stock, we had a lot of trimmings from which I would make traditional garlic sausages. And we would cure, roast, and confit the hog bellies which aged under their bath of congealed duck fat in the walk-in next to vast containers of confited Moulard duck legs. In short, our walk-in contained every kind of meat garnish a cassoulet cook could want.

But now post-restaurant at home in a fairly small city a half a day's drive from anywhere, meats are limited to what I can get at the grocery store, especially because the farmers markets are inoperative at the height of winter; you know, snow and all. Having little alternative, I just decided to go with what I could scrounge at the store. I ended up buying a large tray of chicken thighs and a small tray of breakfast sausage links to use along with all the neck meat that I picked from the stock bones.

While the beans were par-cooking, I browned the chicken and sausages in fat I had saved in the refrigerator from my last couple of batches of chicken confit. And while the meats were browning, I diced all the vegetables I pre-prepped yesterday into mirepoix. This finely diced mix of carrots, onions, leeks, and celery, I cooked in the same pan in which I browned the meats, scraping hard to get all the brown meat bits into the vegetables.

While the mirepoix was cooking, I minced and added an entire head of garlic to give a nice garlicky background note to the cassoulet. The reason for so much garlic is because I would typically have made the dish with a garlic sausage instead of the mild breakfast sausage that I used for this cassoulet.

Once the beans were par-cooked, tender but still a bit crunchy, I drained and mixed them with the mirepoix and then seasoned them to taste with salt. No longer working in the restaurant, I do not have a pan big enough to accommodate this amount of beans and meat, so I decided to use two pans. I put a quarter of the beans in each of the two pans and topped them with 4-5 bay leaves each. Then I split the pork neck meat, chicken thighs, and sausages between the two pans and covered them with the remaining beans.

At this point, I should mention the one cheffy thing about this cassoulet. From time to time, I make chicken confit, that is, chicken cured overnight in a salt and herb mix, then rinsed and slowly poached while submerged under olive oil. Then this chicken gets refrigerated submerged under the fat, which congeals and protects it from spoilage.

After the chicken is all consumed, I melt the remaining fat and pour it into a container to keep in the refrigerator where the fat congeals on top of any juices from the chicken. I reuse the fat for the next batch of confit, but the intensely flavored juices go into a soup or stew. For this cassoulet, I browned the meats and cooked the mirepoix in some of this confit fat and I added the congealed juices (a half cup) to the cassoulet along with the pork neck stock.

After removing the layer of fat from the stock that I made on Friday, I warmed it briefly to liquefy it. Into each casserole, I poured enough stock to cover the beans by a good centimeter and put them in a slow (300F) oven to start the process of becoming insanely good. I checked the beans periodically to make sure they had enough liquid. Each time a crust would form on top of the beans, I would mash it back down into the stock, topping off the stock if necessary.

This process of crusting and breaking the crust and re-crusting over hours is essential to cassoulet. I want to say that the beans cooked slowly for about seven hours and I probably broke the crust four to five times during my forays from the fireside into the kitchen.

While this is a good description of the process of making a cassoulet, a more exact recipe follows just below.

Cassoulet in the Oven
Essential to Let it Crust and Re-crust over Several Hours
Cassoulet Cooling after Seven Hours in Oven

February Cassoulet Recipe


This is a cassoulet, beans aside, that you can make from stock items at the grocery store. In fact, despite the lack of duck confit and other great ingredients, the is the single best cassoulet I have ever made. In other words, don't let lack of ingredients deter you from making a cassoulet. As for the beans, great beans are easily available via mail-order from Rancho Gordo (note that they call them Cassoulet Beans, rather than the Tarbais beans that they are).

This recipe is based on two pounds or a kilo of beans, enough to feed 8-10 hungry people. You'll want to attack a cassoulet over two days, the first given to making the stock and soaking the beans, and the second to cooking the cassoulet itself.

Pork Stock


This stock is made from inexpensive pork neck bones plus the trimmings from all the vegetables that you will use in the cassoulet. If you have a choice, try to select the meatier bones; the meat will go into the cassoulet. This recipe makes a good gallon/4 quarts/4 liters of stock, enough for two pounds or a kilogram of beans.

oil to coat a sheet tray
5 pounds pork neck bones
5 quarts/liters water
tough outer leaves from one large leek, washed well
ends and trimmings from 3 medium carrots
peel of one medium onion
hearts and leafy ends of one bunch celery

Coat a sheet tray with oil and spread the bones out in a single layer on the tray, then place in a moderate to hot oven. Roast until the upper surface is golden brown then rotate the bones to brown another surface. Continue in this fashion until the bones are brown on all sides.

Remove the bones from the sheet tray to a stock pot. Pour enough water onto the hot sheet tray to cover it. With a scraper or spatula, deglaze all the brown bits from the bottom of the sheet tray and pour into the stock pot. Repeat as necessary to get all the brown bits into the stock pot.

Add the remaining water and vegetables to the stock pot and bring to a simmer for a minimum of two hours. I cooked mine for four hours. At the restaurant, we kept stock pots going all the time.

Strain the solids from the stock. When the stock cools, refrigerate it overnight so that any fat in the stock congeals and can be removed easily from the top of the stock. When the solids cool, pick all the meat from the bones and save for the cassoulet.

Cassoulet


This makes a large quantity of beans, enough to feed 8-10 people. Make sure that you have a deep pan or casserole large enough to hold the beans and all the meats. Or use two, as I did. No longer do I work in a restaurant where we had a braiser (called by its French name rondeau) large enough to hold 5kg of beans! When browning the meats, take your time and do it correctly. This is a key step in building flavor.

2 pounds/1 kilogram of Tarbais or other white beans, soaked overnight in salted water
bouquet garni of 1 large sprig each of fresh sage, fresh thyme, and fresh rosemary
1/2 cup oil/lard/duck fat for browning meats
10 chicken thighs, bone-in and skin-on, 5-6 pounds
1 12-ounce tray breakfast sausages
reserved pork neck meat from stock recipe above
1 large leek, in small dice
3 medium carrots, in small dice
2 large stalks celery, in small dice
1 medium yellow onion, in small dice
1 head of garlic, minced
10 bay leaves
salt to taste
1 gallon/4 liters pork stock from recipe above

Drain the beans and cook them in fresh water with the bouquet garni (the fresh herbs, tied together with a string) until tender, but not cooked all the way through. This will take about 90 minutes give or take.

While the beans are cooking, brown the chicken and the sausage thoroughly on all sides. Remove the meats to a platter while you cook the vegetables.

When the meats are browned, in the same pan, add the vegetables and garlic and cook gently until the vegetables are soft and the onions are translucent. Scrape the bottom well to incorporate all the brown bits from the meats into the vegetables.

When the beans are cooked, drain them and mix them with the cooked mirepoix. Season to taste with salt.

Place half the beans in the bottom of your casserole (or a quarter of the beans, if you are using two pans like me).

Give the beans a sprinkle of salt (there's no salt in the chicken, pork neck meat, or stock) and spread the bay leaves on top of the beans.

Next spread the meats over the beans and then top everything with the remaining beans and a final sprinkle of salt.

Pour the defatted, melted stock over the beans to cover by a centimeter or so.

Place the cassoulet uncovered in a slow oven (say 300F) and let it cook slowly. Mine was in the oven for seven hours, so you should get it cooking in the morning to eat at dinner time.

Keep an eye on the cassoulet from time to time. Cassoulet needs to crust, have the crust mixed back into the broth, and re-crust several times. Keep an eye on the stock level and add more as needed. I believe that I broke my crust four times during seven hours and added a bit more stock twice.

The Rest of Our Celebratory Dinner


Cassoulet in the oven, my thoughts turned to an appetizer, something easy and delicious for a cold winter day. We just recently got an order of pantry items in from Amazon (here in Central Oregon, access to less common grocery items is extremely limited), including a tin of fennel pollen, a couple liters of Sherry vinegar, and a couple jars of Calabrian chile paste. Yes, Virginia, these are stock items in a retired chef's pantry and spice drawer.

With these items in mind, I started building the menu. For the Calabrian chiles, Ann had been talking about spicy honey for days and I spent some time musing on what would taste really good with that sweet and spicy sauce. In fairly short order, I came up with using the sauce on some fennel-spiced meatballs that our guests could graze on before dinner. Who doesn't like a good meatball?

I wanted to keep the meatballs fairly plain to let the Calabrian chile honey be the star of the show, but I did want to incorporate the fennel pollen that had just arrived at the house. The seasoning of the meatballs, made from ground pork, is simple: salt, dried basil, fennel pollen, garlic, and red wine. I mixed this all up in the afternoon and fried a quick test piece to check the seasoning. After adjusting the seasoning to our liking, into the refrigerator went the meatball mix to sit and infuse the seasoning throughout the meat.

After washing up from the meatballs, I made a quick salad dressing for the pound of baby arugula that I had brought home for the store, which is where the Sherry vinegar comes in. I started with one part of sherry vinegar and two parts oil (a splash of French hazelnut oil and the rest extra virgin olive oil) and tweaked it to taste with salt and agave nectar. When I was happy with the taste and acid balance of the dressing, I added a finely minced shallot to the dressing and left it on the counter to be mixed with arugula and thin slivers of pecorino at dinner time.

About a half an hour before our guests were to arrive (still no weather cancellations at this point!), Ann and I rolled the 2-1/2 pounds of meatball mix into small 1" (2.5cm) balls. For ease of cooking, I decided to bake them rather than fry or braise them. The meatballs went in the bottom of the oven under the still cooking cassoulet, which I topped with a bit more stock.

Fennel Pollen Meatballs Ready to Bake
When the meatballs came out of the oven 20 minutes later, I sprinkled them with flaky salt and more fennel pollen, then transferred them to a bowl for serving while Ann made final tweaks to the table, glassware, and so forth. I decided to serve the Calabrian chile honey on the side in case one or more of our guests was not a fan.

Fennel Pollen Meatballs, Calabrian Chile Honey
Just about the time appointed time for our guests to arrive (and knowing full well that the trip to our house would be slow on account of the still pouring snow), Ann cracked a bottle of wine for us to start pre-gaming it . While she was doing this, I went outside to remove the 2.5 inches of snow that had fallen in the the last hour from the sidewalk and to try to clear some space at the curb so that car doors could open without getting stuck in snow mounds.

Cassoulet Wine Pairings 


You've heard the saying, "What grows together, goes together"? It's a philosophy that I have always ascribed to in wine pairings. In other words, a good rule of thumb in wine pairing would be to go with the wine from the area from which the dish originates (when possible).

Living in Oregon, our wine coolers are stuffed with our local wine (Pinot Noir) and are sadly bereft of wines from Southwestern France where cassoulet originates. Unfortunately, these relatively obscure French wines are hard enough to source in major metropolitan areas and pretty much impossible to find out here in the boonies. But still, while Ann was out at her exercise class in the morning, I asked her if she would go by the store near her studio and pick up some French wine for dinner.

Cassoulet is a hearty dish that can pair with a wide variety of reds, anywhere from a light Gamay to a heavy Cabernet. My preference is to match the weight of the dish and the wine, opting for heavier rather than lighter wines. For heavier wines, I really like Cahors (Malbec) or Madiran (Tannat), both sturdy reds, with cassoulet.

Knowing the likelihood of finding such a wine was about nil, plan B was to have Ann grab some southern Rhônes, which are what we call GSMs, being made from any combination of the grapes Grenache, Syrah, and Mourvèdre. She came home with three wines, a Châteauneuf du Pape, a Lirac, and a Gigondas. All were delicious. Alternatively, we could have opened some of our GSMs from Walla Walla and the Rocks District from just north of us along the Columbia River.

Three Southern Rhône Reds for Dinner

Celebrating February


I am afraid that I was so intent on our guests that I forgot to take pictures. Rob and Dyce, sorry! What few I did manage are below.

Pre-Gaming it in Front of the Fire
Ann's Simple Tablescape
with Valentine's Gift Boxes for Guests
Andreas and Michelle
Cassoulet and Arugula Salad
Another cassoulet, my best ever, is in the books. I'm so thankful to have great friends with whom to share it.

Saturday, February 10, 2024

Black-Eyed Pea and Corn Filé Gumbo

I have always loved black-eyed peas. Not only are they part and parcel of my Southern heritage, but they are also delicious, easy to grow, and easy to shell. 

Black-Eyed Pea and Corn Filé Gumbo
Black-eyed peas are very different from beans even though the two are used in the same ways; they belong to two different botanical families. While beans are decidedly New World, field peas such as black-eyed peas come from the Old World, West Africa to be precise. All the types of field peas are lumped into the term cowpea (from their heritage as animal fodder).

I have eaten all manner of cowpeas under many names and in many colors and shapes, such as crowder peas, Sea Island red peas, black-eyed peas, cream peas, lady peas, and pink eye peas. Culinarily, they are interchangeable and for my taste, the fresh green versions are better than the dried versions. At least, they are very different in flavor profile. A green black-eyed pea will be very mild and quick cooking; dried black-eyes are deep and rich in flavor and need long cooking.

It being just after the first of the year, black-eyed peas have been on my mind. For us Southerners, a batch of black-eyed peas are required dining to bring good luck for the forthcoming year. For various reasons, I did not make my usual New Years' black-eyed peas, so I wanted to rectify that.

As I was walking the grocery store recently, the idea of a black-eyed pea and corn gumbo sprang into my mind unbidden and I stopped by the freezer aisle to score a couple bags of frozen green black-eyed peas and frozen sweet corn kernels. Both of these vegetables freeze well and are among the only frozen vegetables that I use (the odd bag of  pearl onions aside).

Last night was an opportune moment to make said gumbo and so I started as I do all my gumbos by making a roux. Not wanting to set off the smoke detectors in the house, I kept my roux to medium brown, about two-thirds of the way to being a black roux.

A gumbo roux is one part each of fat and flour, heated while stirring, until the flour browns to the shade that you require. The rule of thumb is that the lighter the protein (chicken, seafood) the darker the roux and the darker the meat (venison, pork) the lighter the roux. Back in 2008, I did a pictorial on making roux, if you want to see the process in action.

The next step in making a gumbo for me is to add the trinity (mirepoix, the Cajun holy trinity: onions, peppers, and celery) to the roux which stops the roux from browning further and starts to cook the vegetables. I used one and a half poblano peppers, two stalks of celery, one really large onion, one half a bunch of green onions, and about six cloves of garlic, minced.

After stirring the vegetables in, I added about a quarter cup of my home-grown Cajun spice mix and let it cook briefly before adding a quart of water. If I had a good vegetable stock, I would have used that instead of water. I turned the heat down and left the stew base to simmer for a half an hour at which point, I added two bags of frozen black-eyed peas and let them cook until they were tender, about twenty minutes. After the gumbo cooks for a while, the oil that you used in the roux will gather on top and you can ladle it away.

To finish the gumbo, I added the corn and then I seasoned and thickened it. In terms of thickening gumbo, there are two methods, one from African slaves and one from indigenous tribes. Now would be a good time to mention that gumbo derived from the Angolan word kingombo, meaning okra, The first means of thickening is to add sliced okra to the stew and let it cook in well. The okra will largely disintegrate and all its (frankly, nasty) mucilaginous interior will thicken the stew.

The second method, from the Choctaw tribes native to the Gulf South, is to stir in filé powder, ground sassafras leaves. Sassafras is a small shrub/tree native to the southeast, a shrub whose roots and bark make a nice tea and whose leaves lend a spicy herbal note to dishes, reminiscent to me in some ways of thyme.

I am not the world's biggest okra fan, having had to eat way too much of it as a child and worse, having had to pick it daily as a child. Cutting okra is an unpleasant experience. It grows in hot humid places such as Alabama where I spent my teenage years. And the head-high plants are horribly irritating to your exposed skin, especially when exacerbated by the inevitable sweat born of such a climate.

Although I could have bought sliced and frozen okra at the grocery store, where it is neatly stacked alongside the black-eyed peas, my aversion to it leads me to thicken my gumbos with filé powder whose flavor I prefer. My mother mostly used okra (duh, they had a freaking garden full of it) and sometimes she committed the culinary faux pas of using both okra and filé powder simultaneously, something that could result in your excommunication from the Southern fraternity in certain areas.

I will say that I do love fried okra, just not the boiled crap that my mother insisted I eat or go hungry. Going hungry was very tempting, I must say.

At the last moment, I stirred in a good bit of salt, filé powder, and the frozen corn. I turned off the heat and let the gumbo stand for five minutes to let the corn warm through. Sweet corn kernels need no cooking at all. And there you have it, a quick gumbo of black-eyed peas and corn.

Saturday, January 20, 2024

Lamb Stew

There's nothing really novel about lamb stew. At heart, it's quite a humble dish of lamb, vegetables, and gravy. But there is a vast difference between how professionals and home cooks approach this dish. And a vast difference in the finished dish as a result.

Carefully Constructed Lamb Stew
At home, one often cooks all the stew ingredients together, meat and vegetables until done and then thickens (or highly reduces) the cooking liquid. The vegetables will likely go all at once into the pot once the meat is cooked to avoid overcooking them.

On the other hand, at a high-end restaurant, each ingredient will be pre-cooked just to the point of doneness, combined with a meticulously-made gravy when the dish is ordered, and reheated before service. In this way, each of the constituent ingredients is cooked perfectly with nothing overcooked.

Here's a sketch of how I made this batch of lamb stew which is pretty much identical to how we would have made it at the restaurant, if we could have sold something as pedestrian as stew. Fine dining customers, especially those for whom such a meal is an unusual splurge, usually want to order something "luxurious" that they can brag about to their friends: steak, lobster, foie gras, etc.

This tendency makes it really hard to sell something such as a stew, which you must do if you are running a nose-to-tail restaurant like ours that was based on whole animal butchery. Selling the non-glamorous parts of the animal at such a restaurant involves a precise combination of wording on the menu and pricing ("menu engineering"), but that is a topic that would require an entire chapter in a foodservice textbook. It is a topic in which I am highly versed but which is way beyond the scope of this, or any, blogpost. If you're a chef reading this and need help, I do consult.

Step 1: Make a Great Stock

To make the stock, I had been saving scraps of meat and bones over the last few days. This stock was made from lamb trimmings, steak trimmings, the backbones from spatchcocking game hens, the bones leftover from the roast game hens, and a few chunks of pork neckbones.

To start, toss the bones and some aromatic vegetables (carrots, celery, onions in chunks) with oil and roast in a hot oven (400-450), turning as necessary, until the bones and vegetables are really well browned. 

Stock Bones Before Roasting
Well-Caramelized Bones After Roasting
Once the bones were roasted (about 45 minutes with four turns at about 400F), I removed them to the stock pot, covered them with water, and then poured very hot water onto the sheet tray and scraped up all the brown bits (what we call in chef-ese the fond or "bottom" in French). I then poured the water and brown bits into the stock pot so as not to lose any flavor.

If I were making a super-fancy stock, I would pour lamb stock over the bones instead of water, which would be called a double-stock. I often make chicken soup by cooking raw chicken in chicken stock, yielding a double stock just to get a more intense chicken flavor, our poultry in the US largely being bland.

Once the bones and liquid are in the stock pot, I added other flavorings such as leek leaves, onion peels, parsley stems, a sprig of rosemary, and a couple sprigs of thyme. These items add depth of flavor; the onion peels also add brown color and they were used as a dye in olden days. I often collect these bits in a bag in the freezer to add to my stocks.

Step 2: Prepare Each Ingredient Separately


Once the stock had cooked slowly for about 4-5 hours, I removed it from the heat, strained out the solids, and returned the stock to the stockpot. While the stock was coming back to a light boil, I cut into bite-sized cubes the remainder of a lamb shoulder that I had roasted to medium rare.

I then cut a couple yellow potatoes and a couple large carrots into the same size pieces as the lamb and poached first the potatoes and then the carrots in the stock until they were done. Then I put a bag of frozen pearl onions into the stock to cook. I am not ashamed to admit that I use frozen pearl onions; the labor and cost savings in using them is immense.

At the restaurant, we would have focused on using baby vegetables rather than cut ones, just to up the wow factor of the dish. I would have asked my growers to harvest tiny carrots and new potatoes and my crew and I would have probably stood around and peeled small shallots in place of the pearl onions.

It's likely we might have used baby hakurei turnips and tiny chanterelle mushrooms as well, in the appropriate seasons. All these ingredients and all this work would yield what we call in chef-ese a very soigné ("carefully prepared" in French) dish, but man, that's too much expense and labor for home cooking!

Mid-Stream in Cooking Each Ingredient Separately

Step 3: Finish the Gravy and Reheat the Stew


Once all the vegetables were cooked in the stock (and thereby lent their flavors to the stock), I then continued to reduce the original gallon and a half (six quarts, roughly 5.5 liters) down to the final volume of gravy that I wanted, concentrating the flavors. I then seasoned the stock with salt and white pepper to taste. You really don't want to season a stock before it is reduced because you'll end up concentrating the seasoning and will end up with an oversalted stock.

A professional hint that I have passed on to many, many young cooks: if your highly reduced stock tastes flat, add a drop or two of vinegar (I like sherry vinegar for this) and see how that helps. Highly reduced stocks are likely to be flat and bland because of the highly concentrated amount of gelatin that they contain. Acid will bring new life to such a stock.

Once I seasoned my stock to my taste, I made a batch of beurre manié, roughly equal parts flour and room temperature butter kneaded into a paste. Kneading the flour and the butter creates a great sauce thickener that you can whisk into a stock, eliminating any worry of lumps in your sauce.

I added small lumps of beurre manié to my simmering sauce, whisking it in, until the gravy was as thick as I wanted. A decent rule of thumb is that one tablespoon of flour and one tablespoon of butter will thicken one cup of liquid to a heavy cream consistency.

A lot of chefs will skip the beurre manié altogether, opting to sauce their meat and vegetables with a glace or demi-glace, both highly concentrated and very thick stocks. I find these sauces to be too thick and too sticky for my liking, but that's just me. YMMV: your mileage may vary.

All that is left is to combine the stew ingredients with the gravy and reheat. You can do this in any fashion; this time, I put everything into a casserole and reheated it in the oven. At the restaurant, we would have assembled an individual portion up on the range top and then put the hot stew in an oven-proof serving dish into a very hot oven for five minutes or so before calling for a runner to take it to the dining room. [More than likely, we would have covered it with a sheet of puff pastry and baked it until the pastry was golden and risen.]

Lamb Stew, Ready to Serve
These are a few hints on how a professional chef might approach a humble stew with an eye to elevating it slightly. There's nothing difficult about this method, but it does involve a significant amount of time to do. If you have time to do this, it will elevate your stew game. If not, at least you may better appreciate all the pains to which chefs go to assemble even the most humble of dishes for you.

Wine Wednesday in McMinnville

Each summer we try to make one or more trips to our former home of McMinnville over in the Willamette Valley, about 3.5 hours from Bend, giv...